I'on Capstone Project
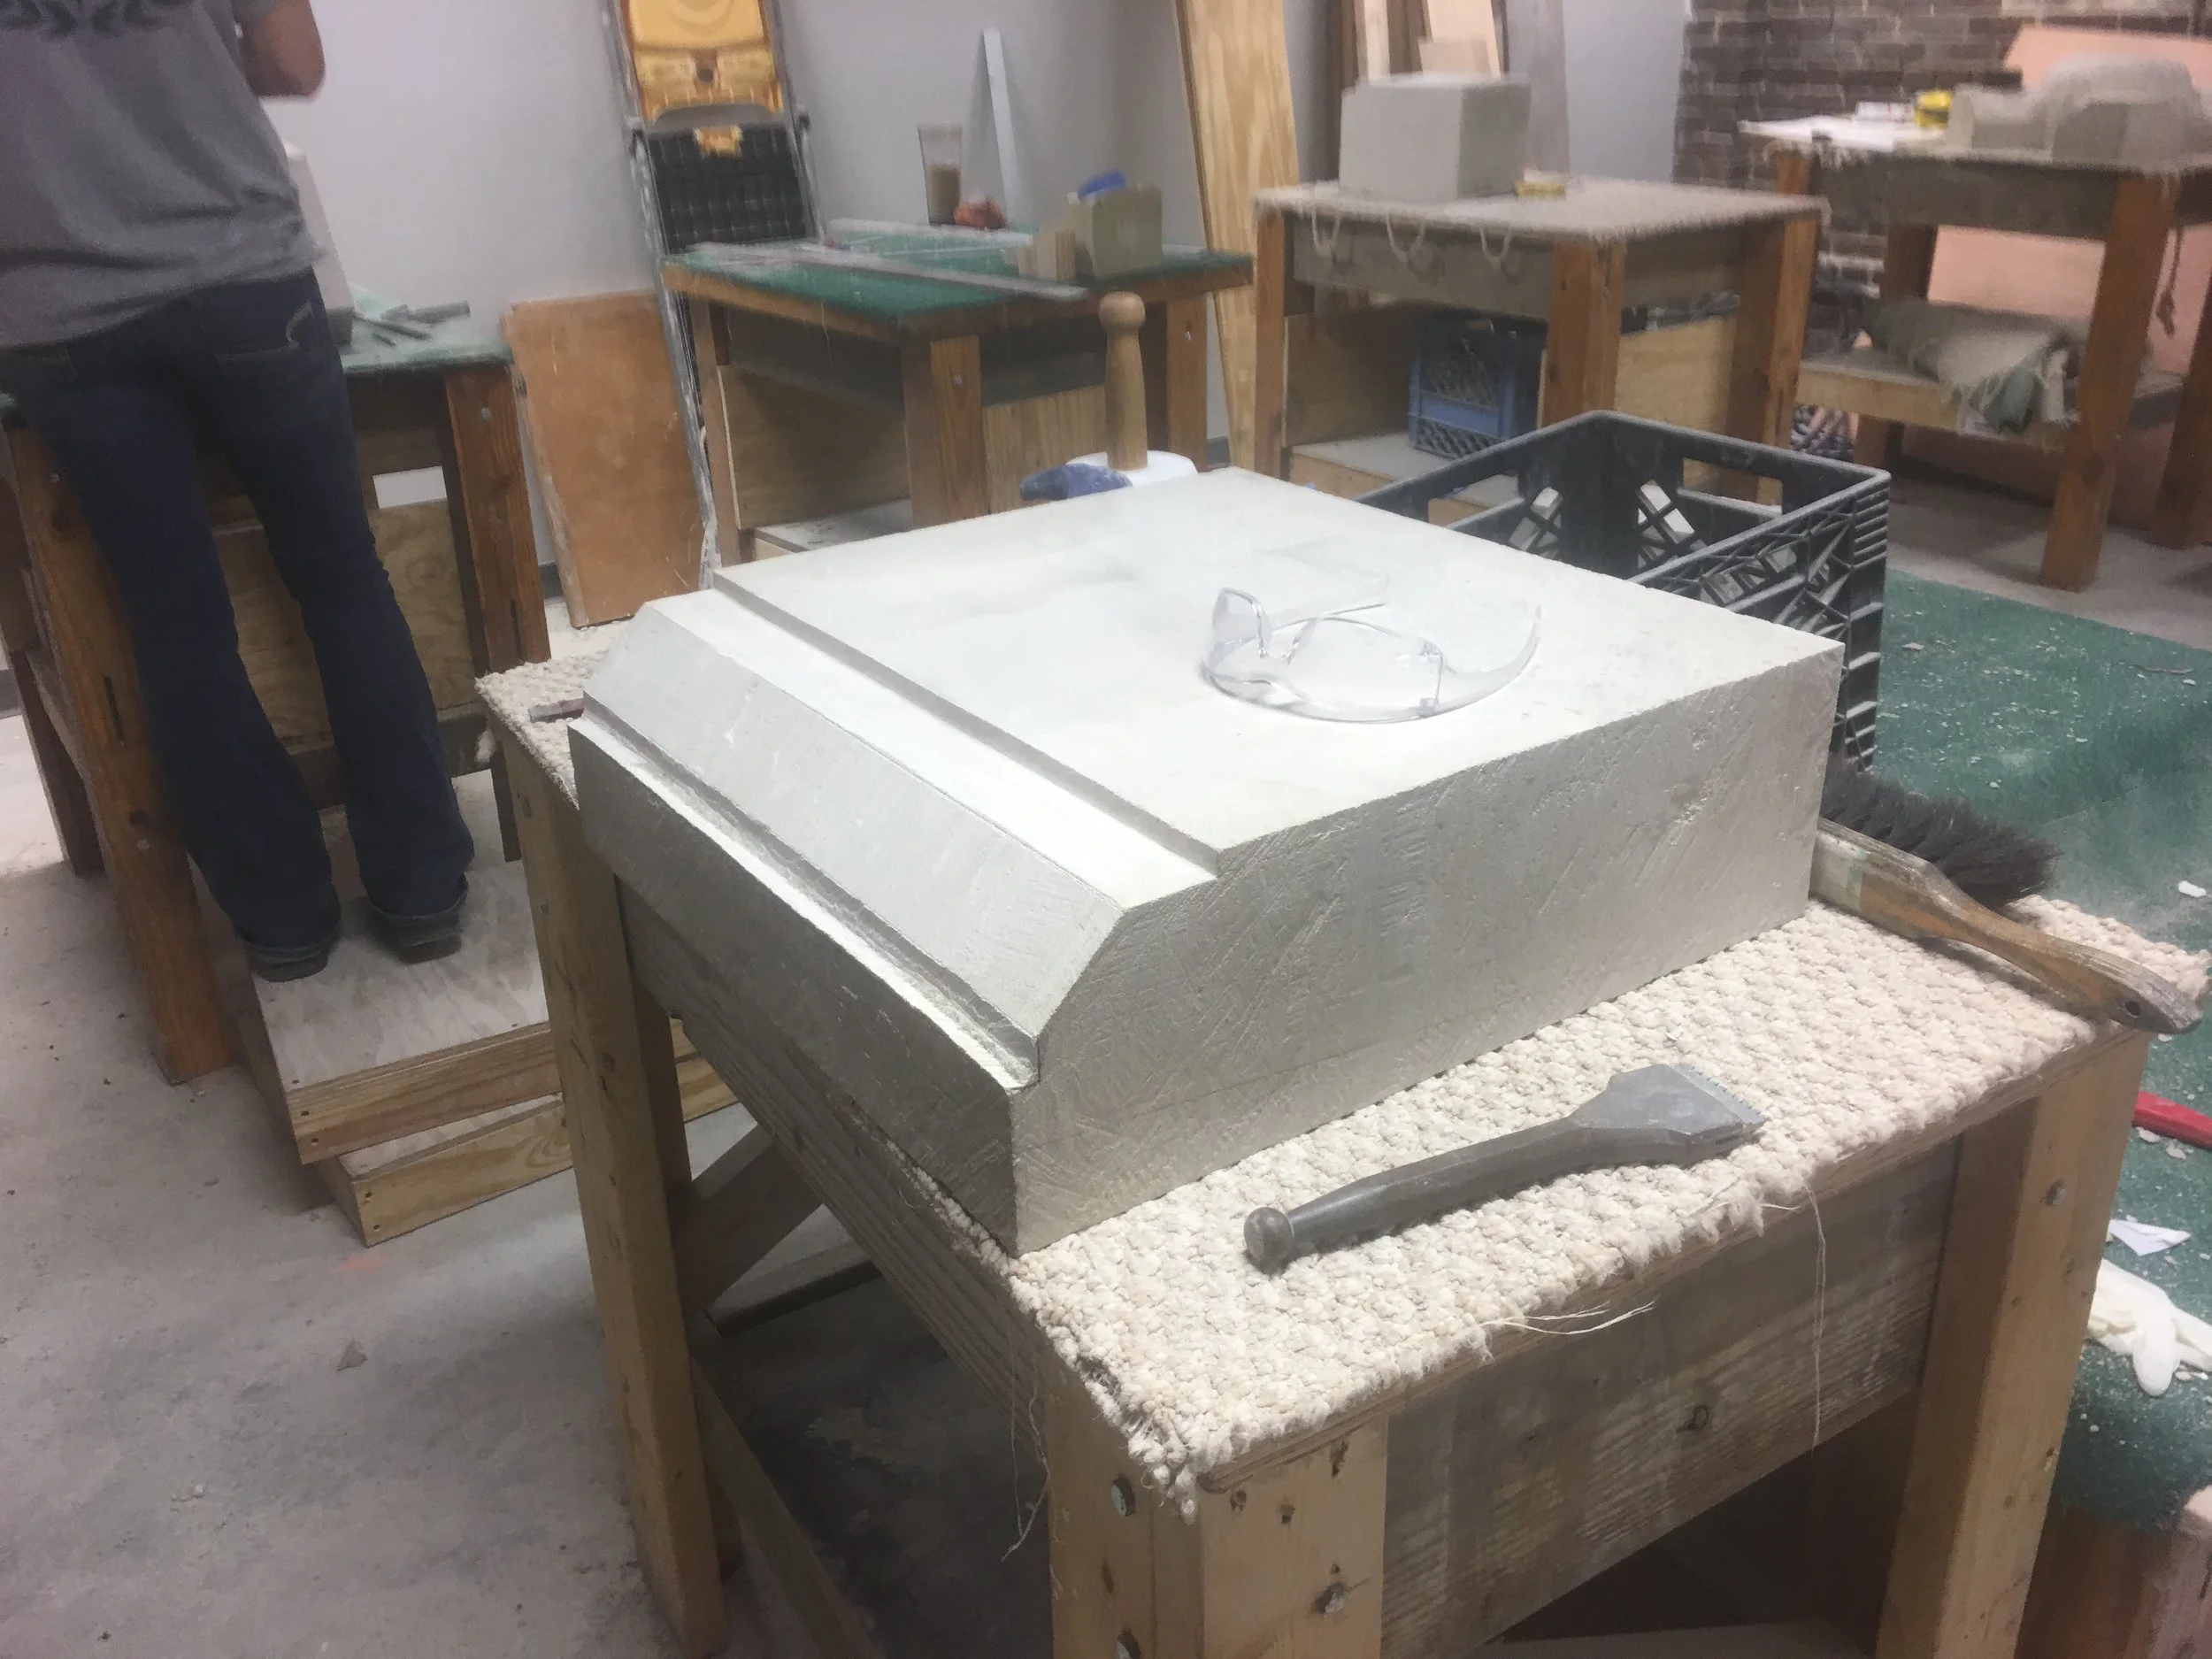
Last year we build a traditional masonry wall for the church at the I'on Development in Mt. Pleasant, SC. This semester we will be working on making capstones for the brick pillars we built. This post will follow the progress on my part of the capstone. because of the size of the capstone it was to be divided into four parts. The stone is Indiana Limestone, fairly easy to work. This is my first major stone project to go on a building.
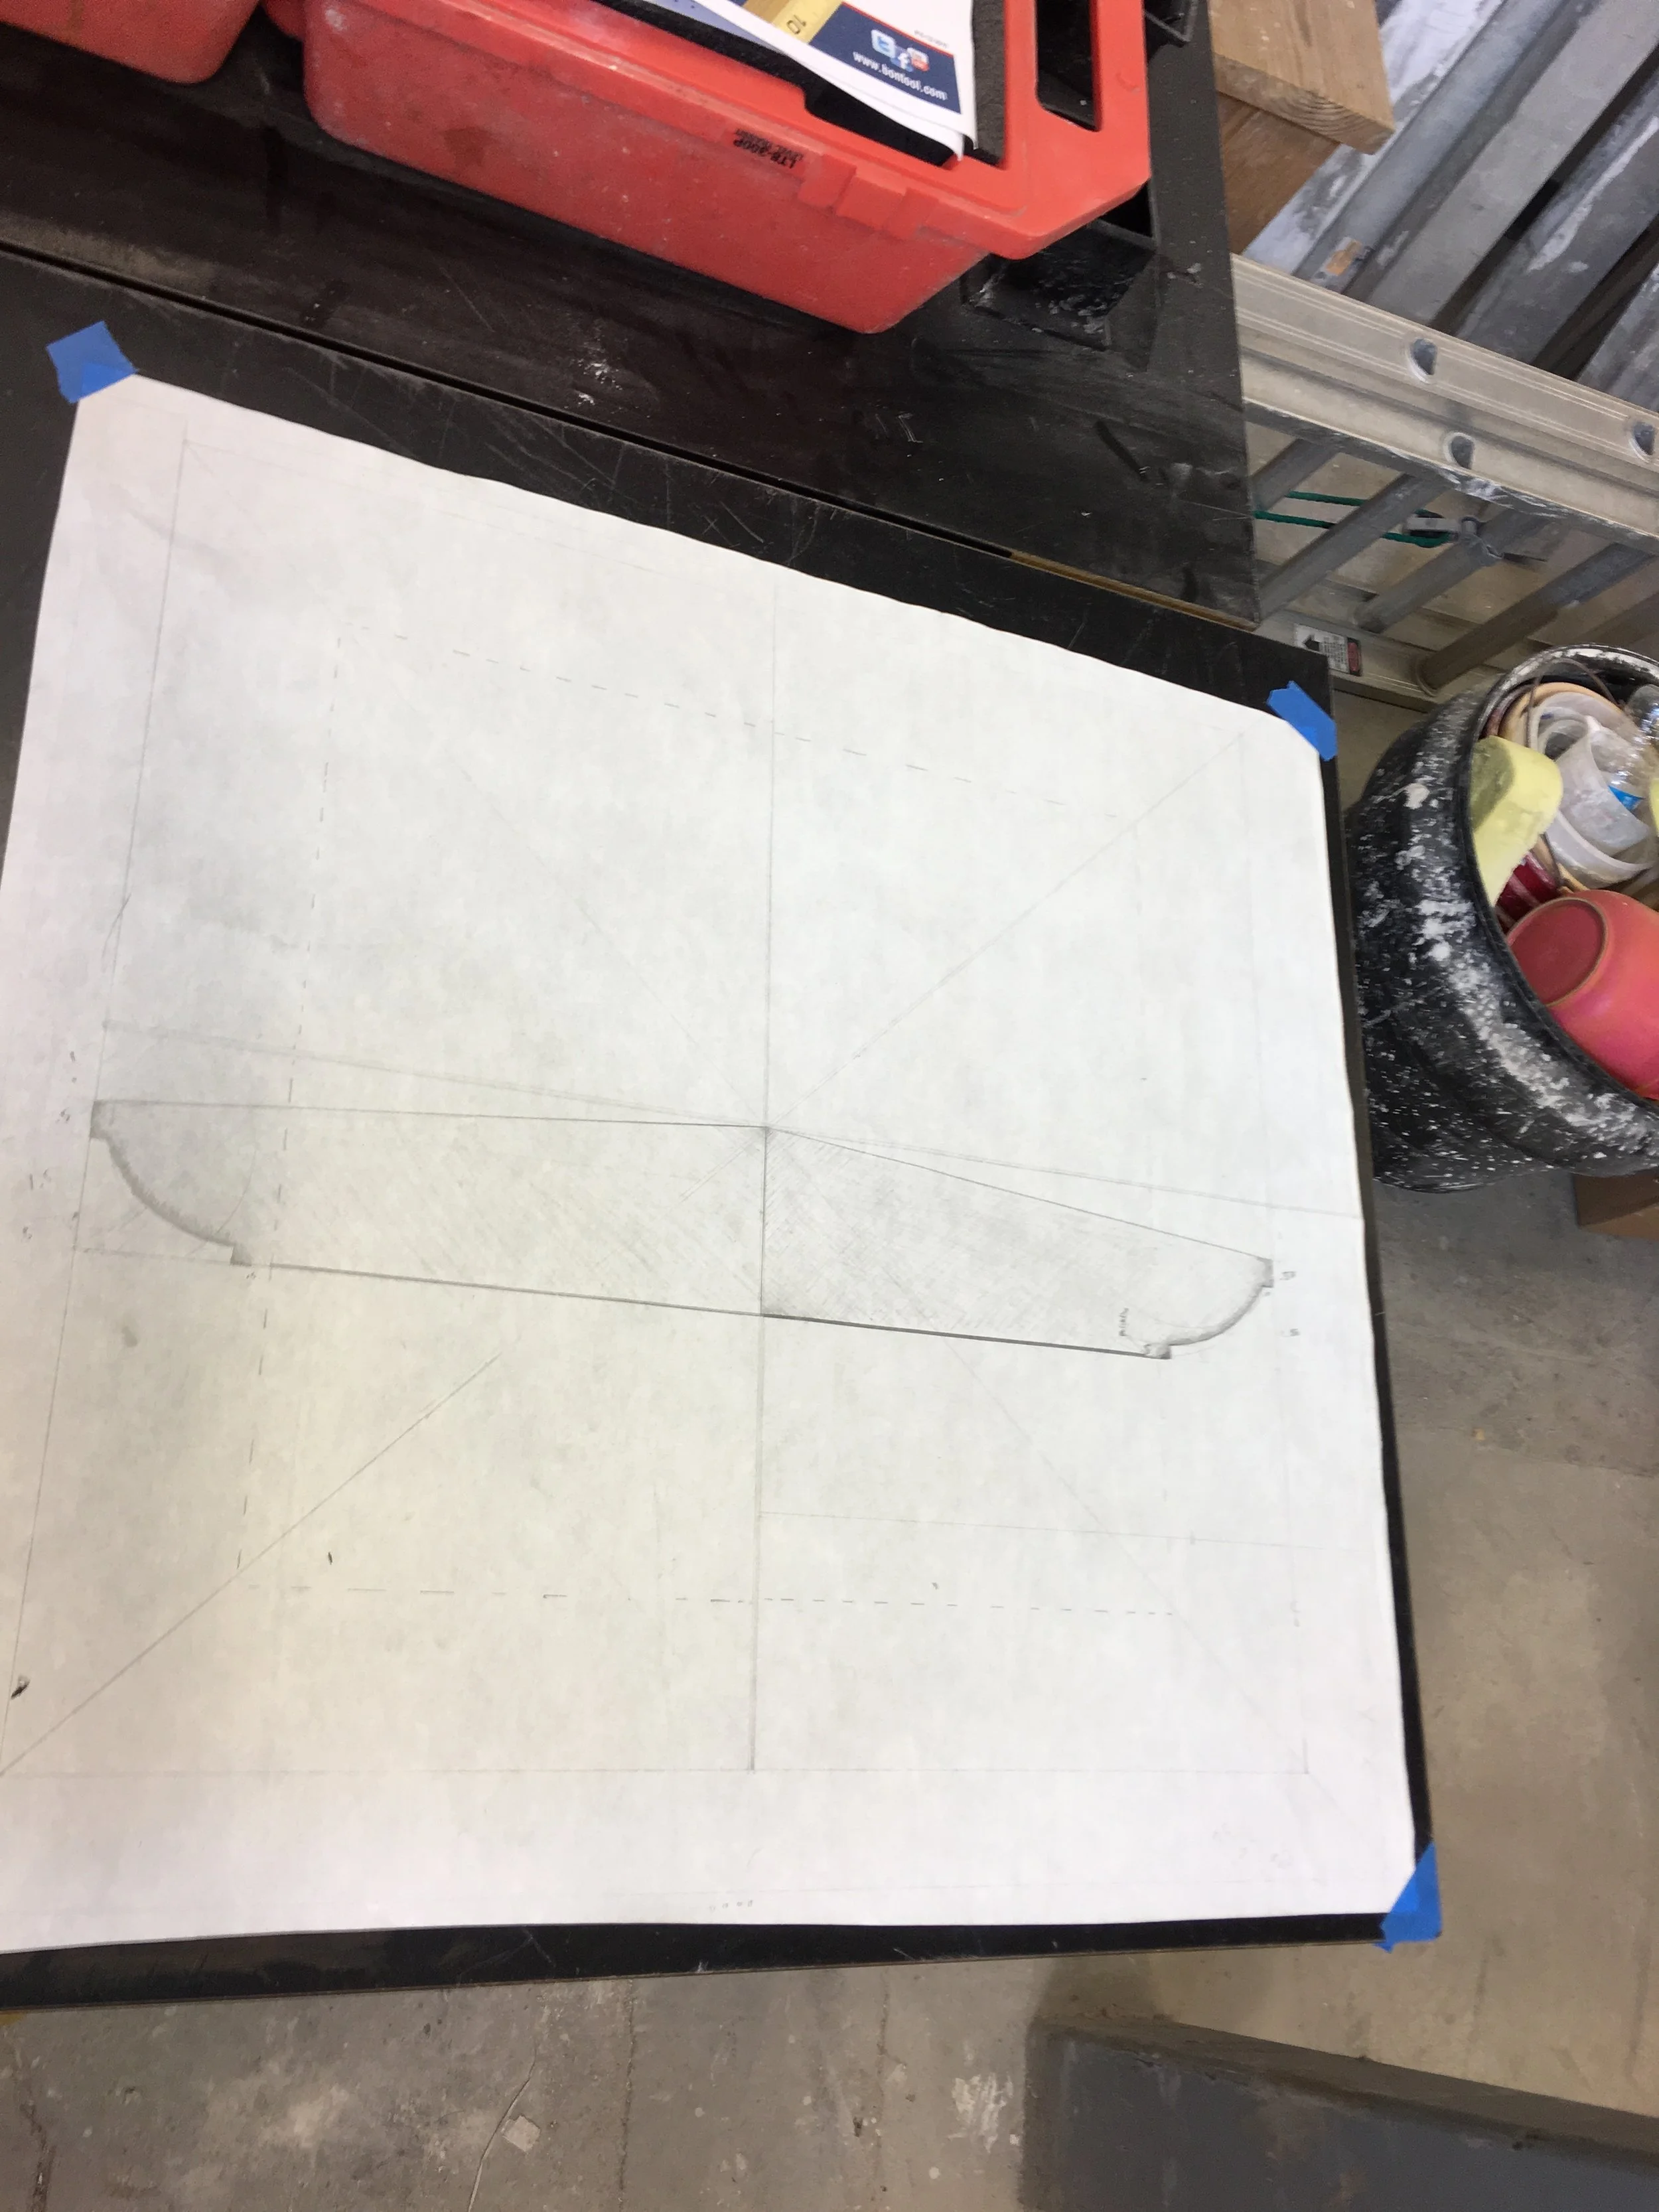
Our first step is to create a template, which depicts the final shape of the stone. Our stone will be split in to 4 divisions, each student working on a single part. After the template is created we set out and score the lines on the rough block.
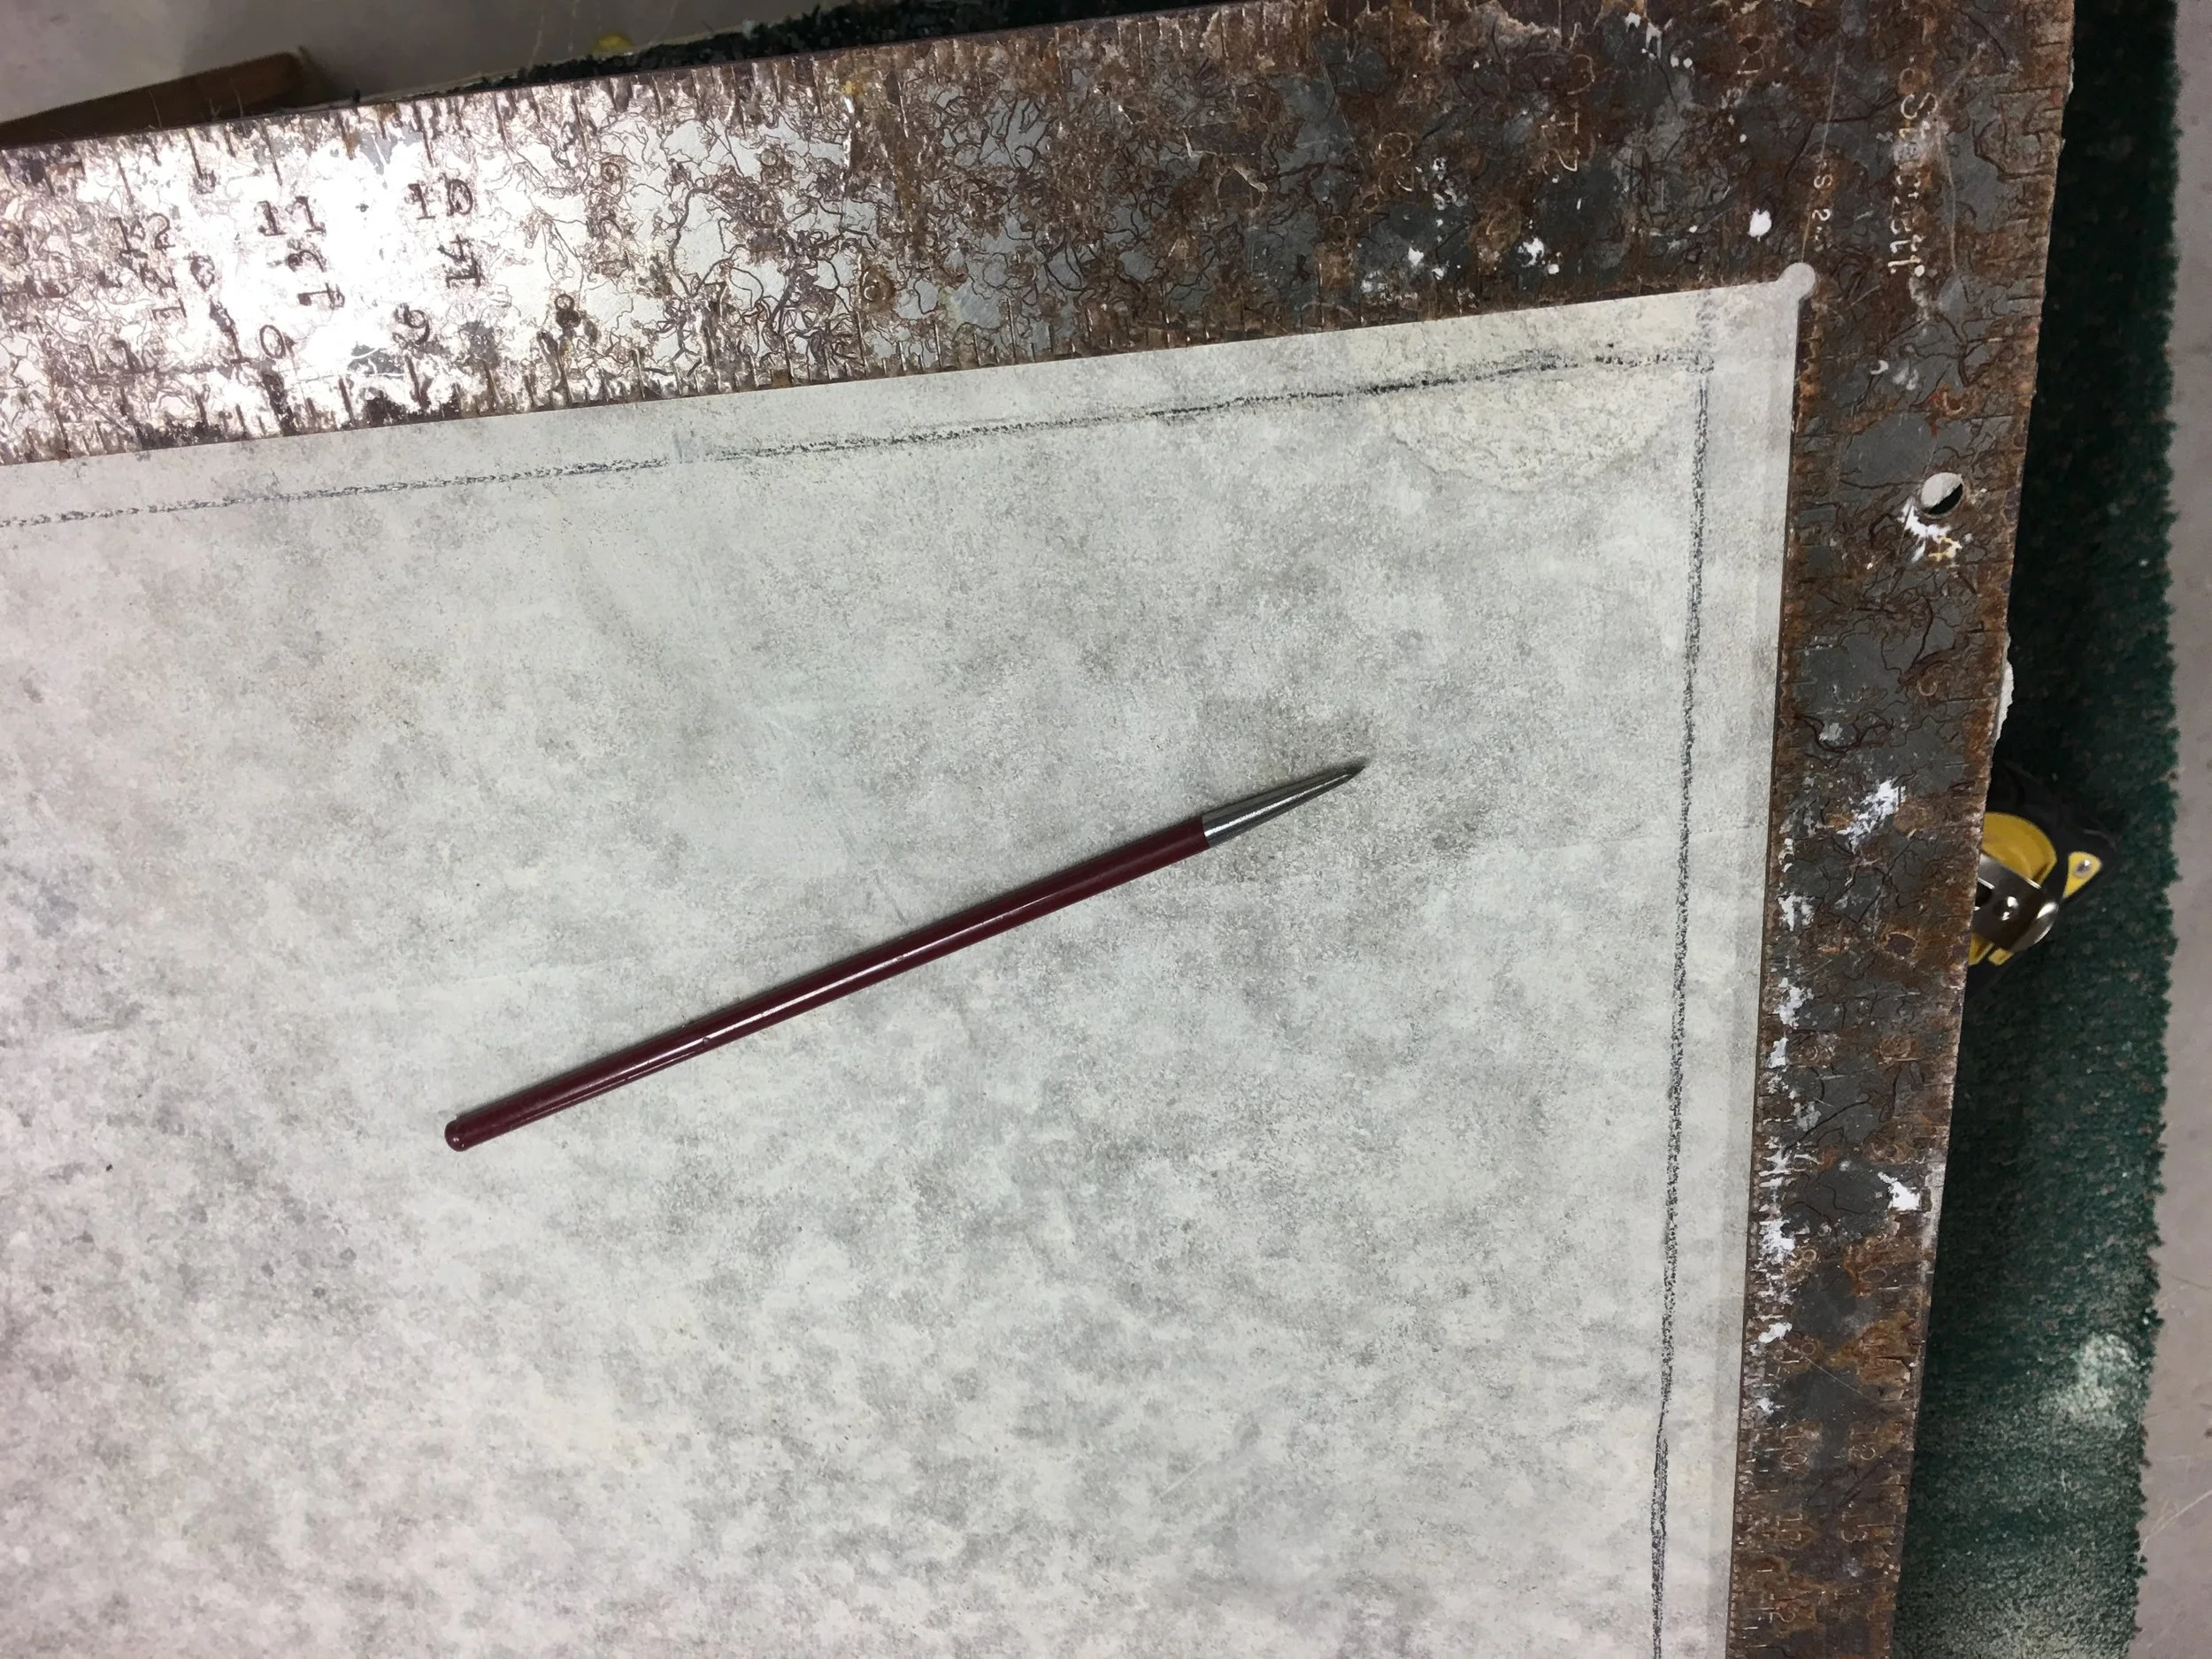
Setting out, and scoring the lines.

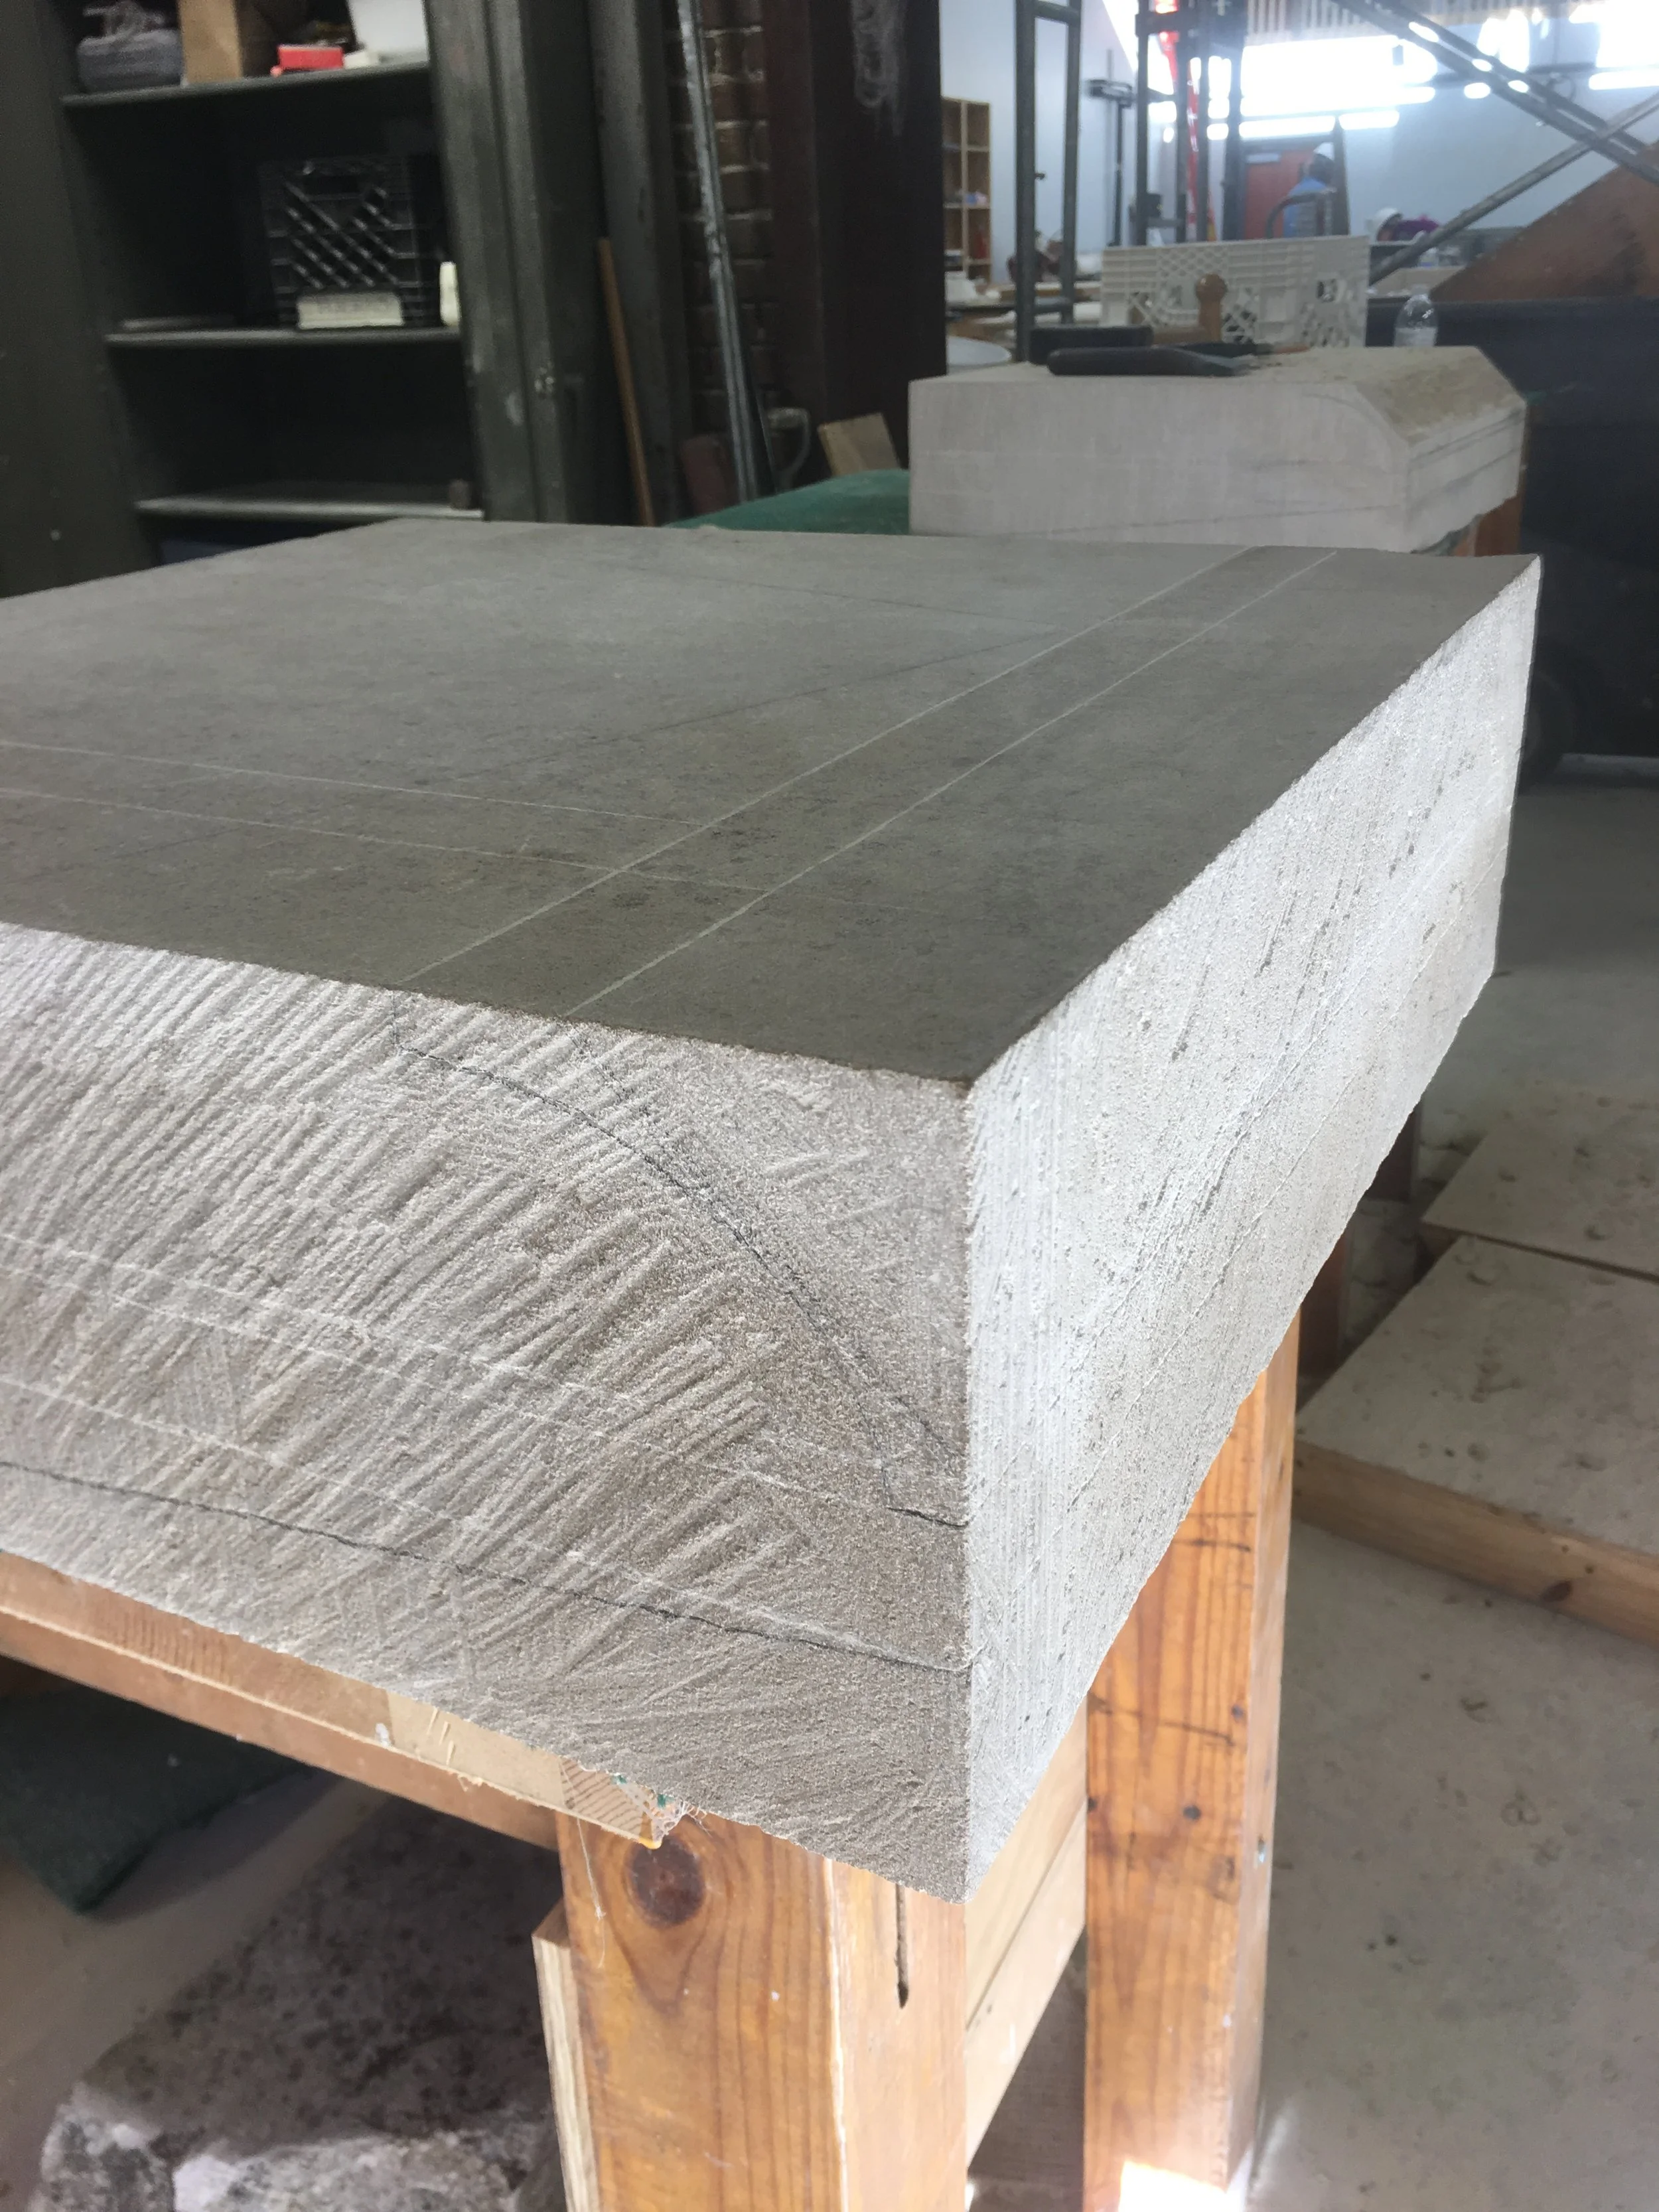
The rough stone
Working back the stone
Sqauring up
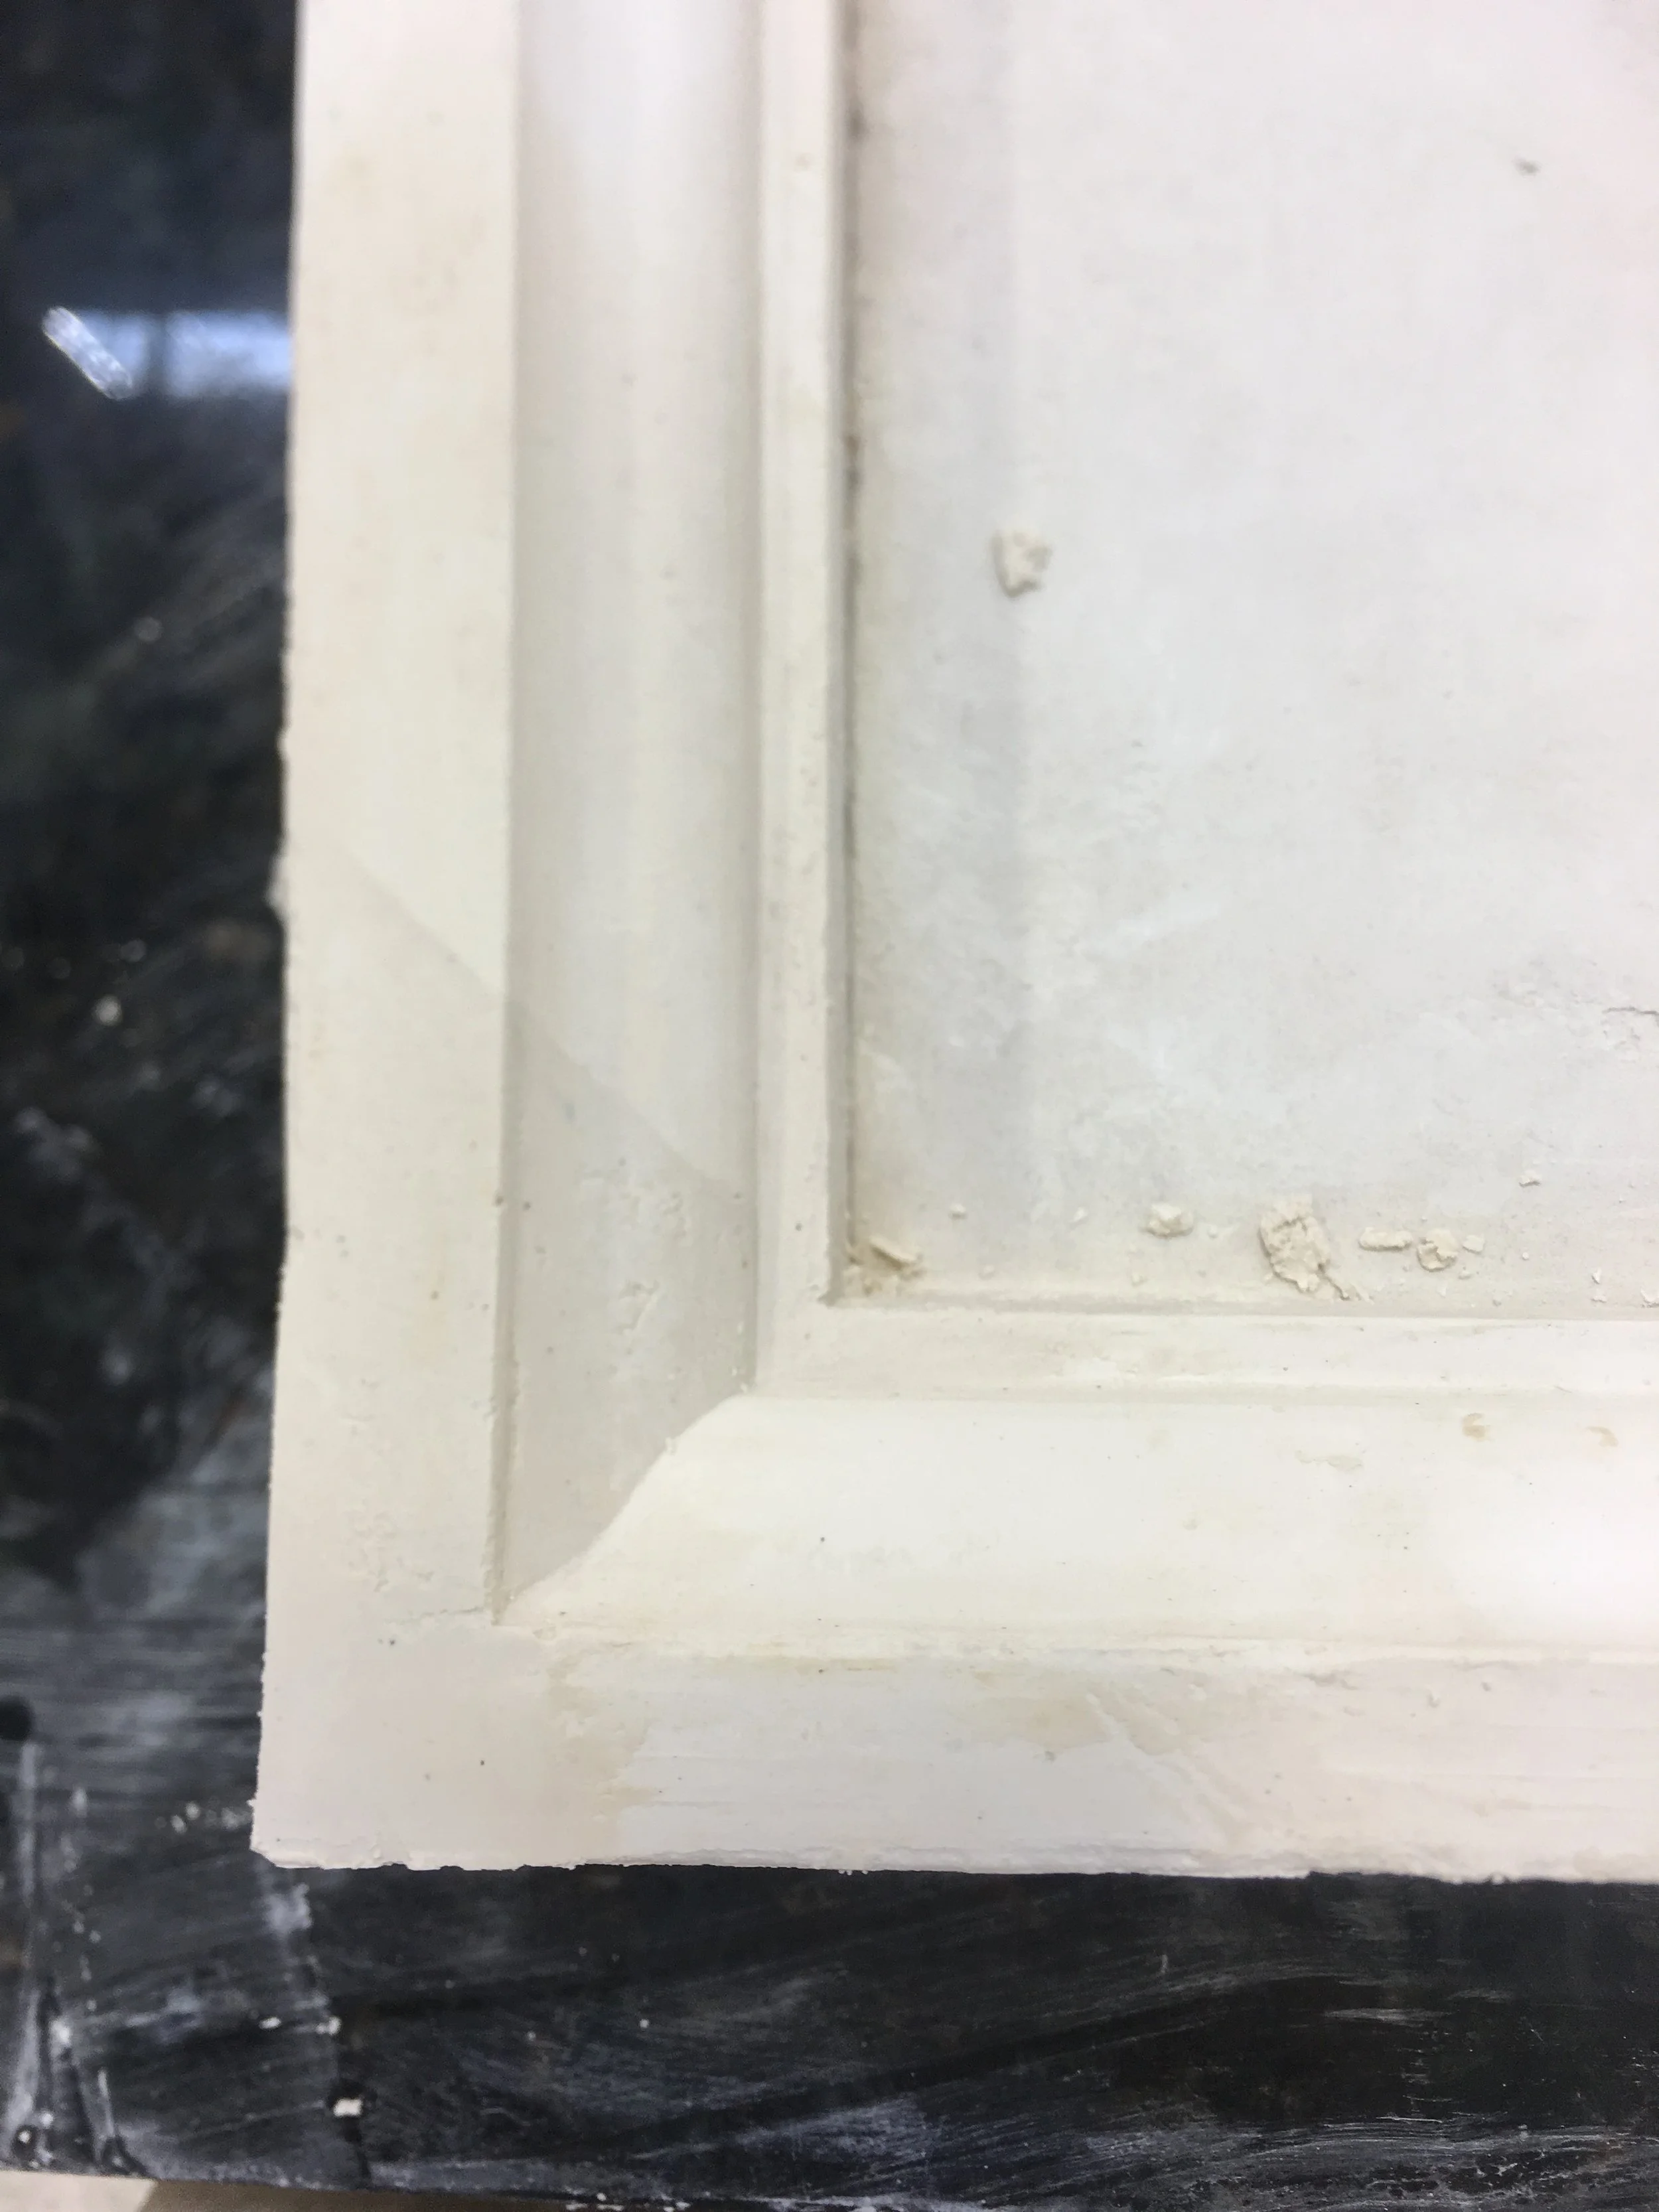
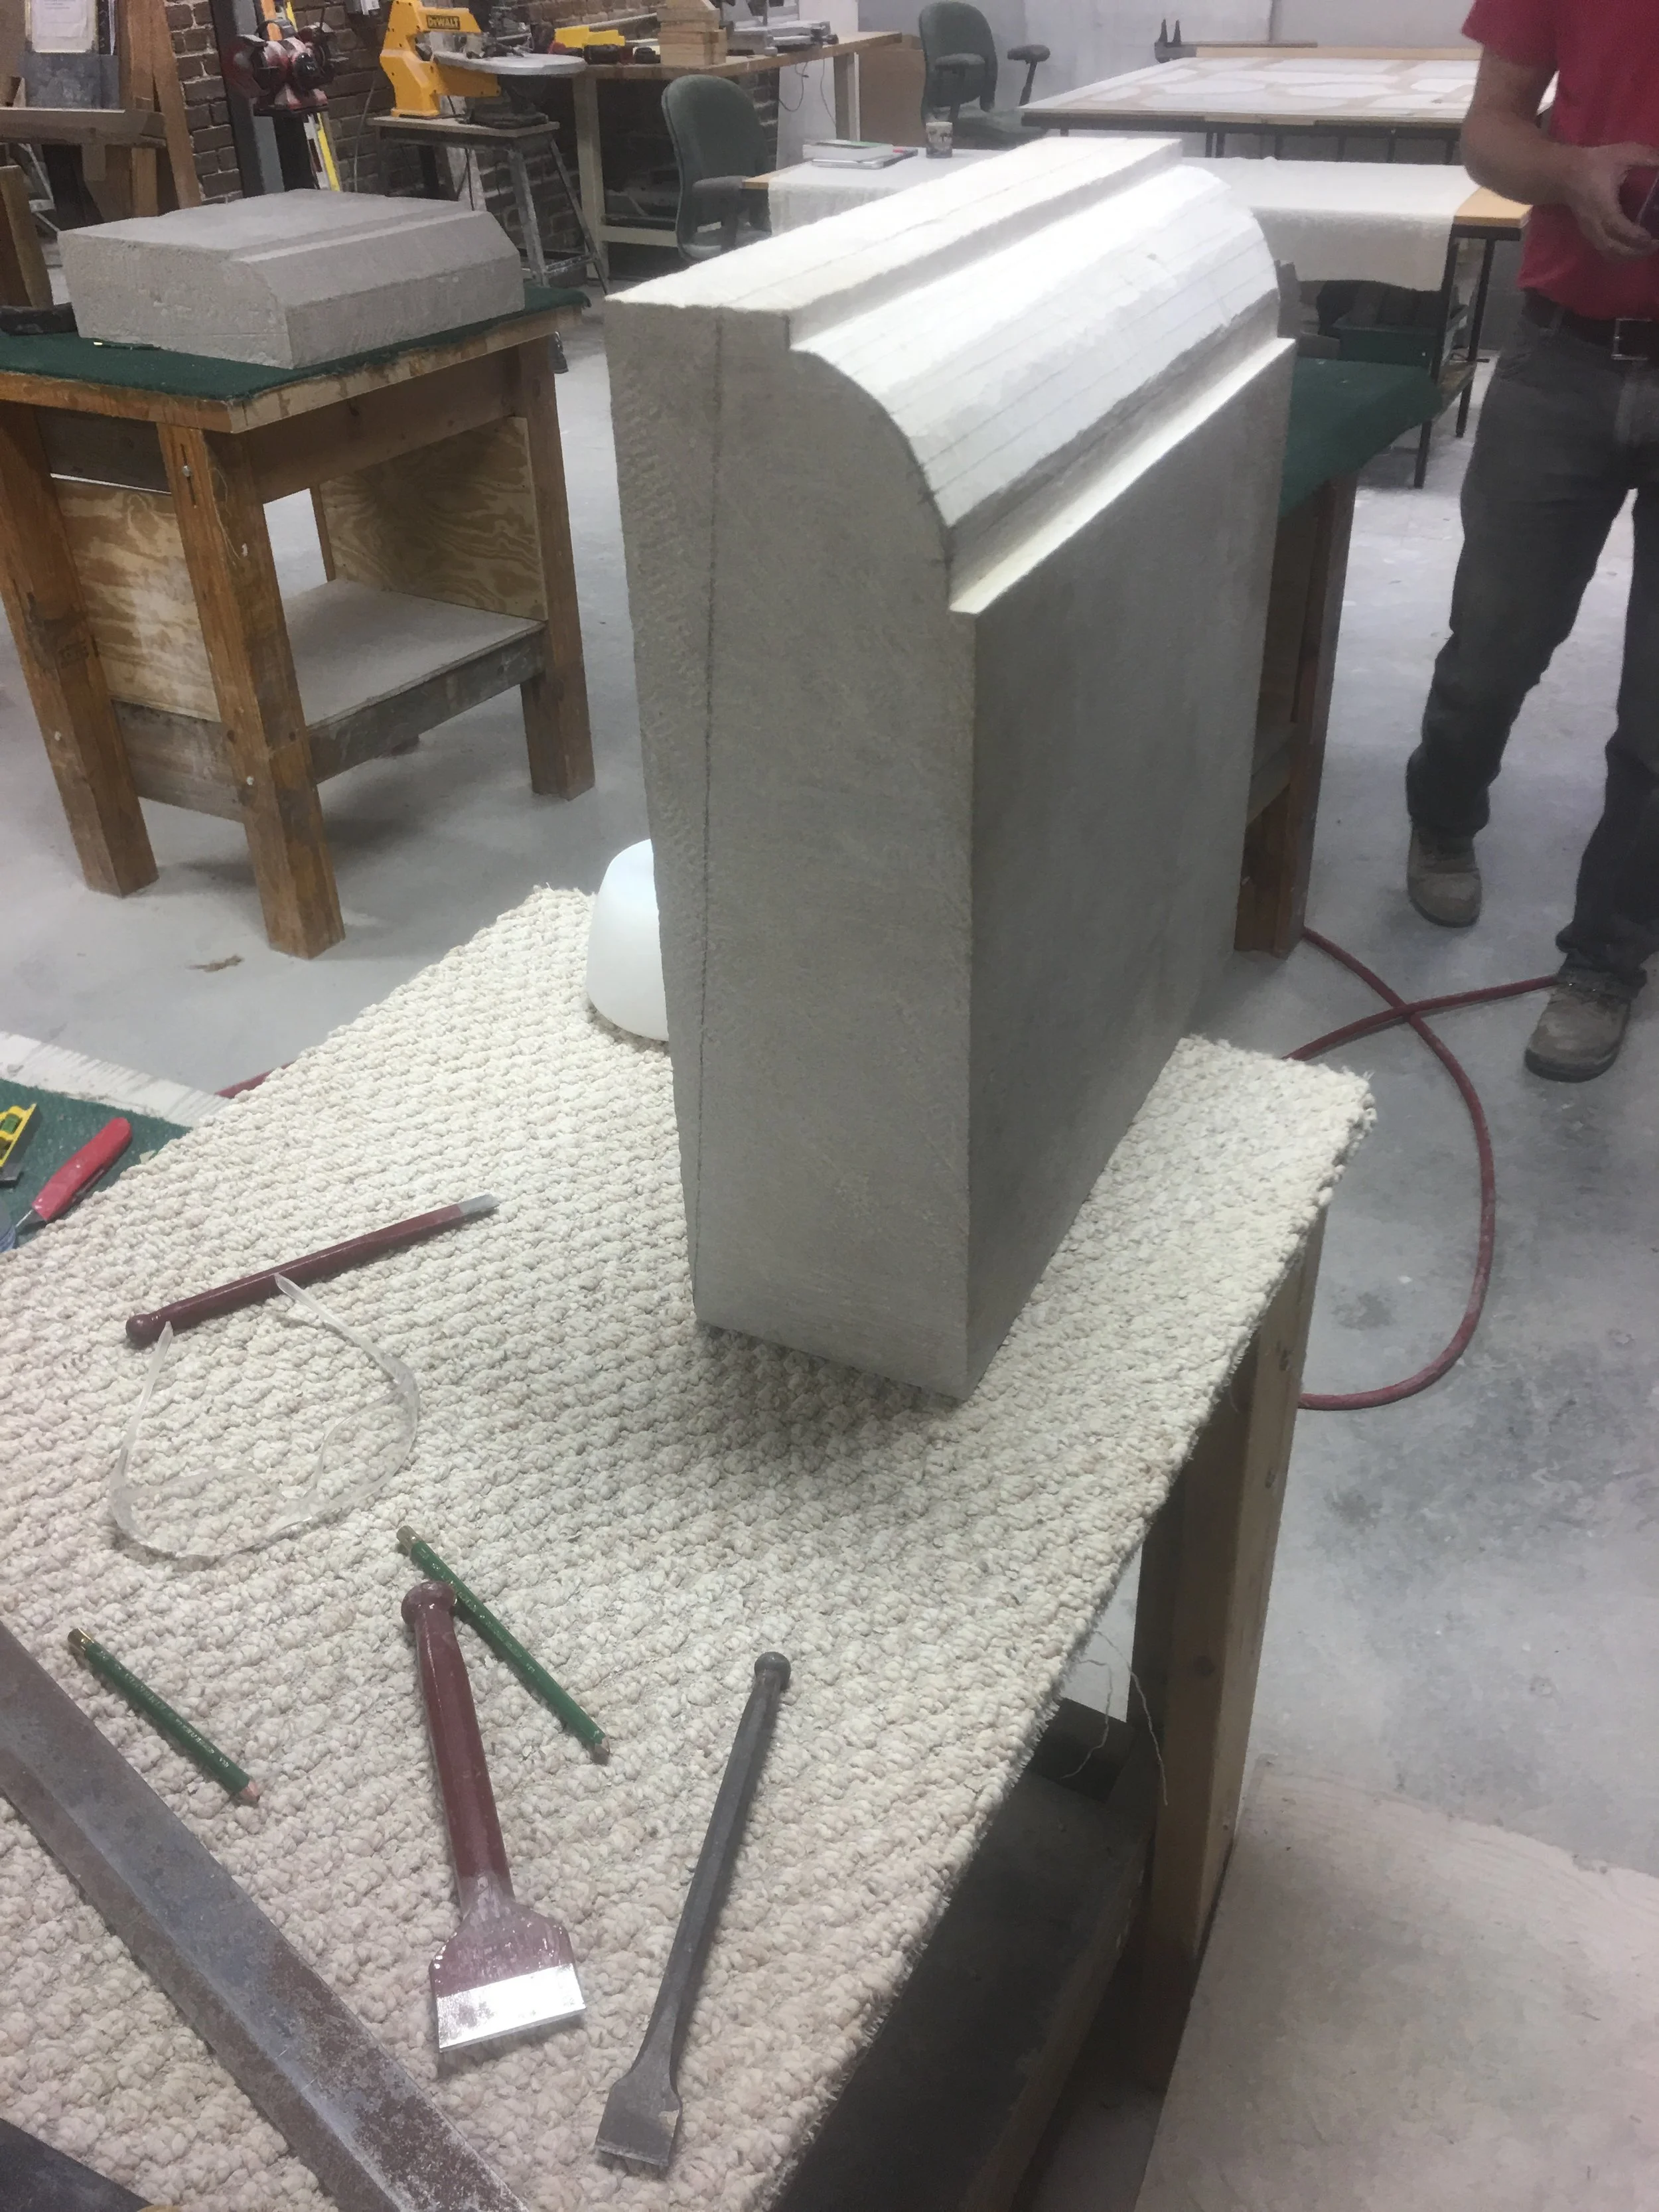
Once the stone is squared, we can then apply the template we made earlier, and set up the stones final shape.
Setting out, using the template as a guide, the final lines are then traced and scored in the stone.
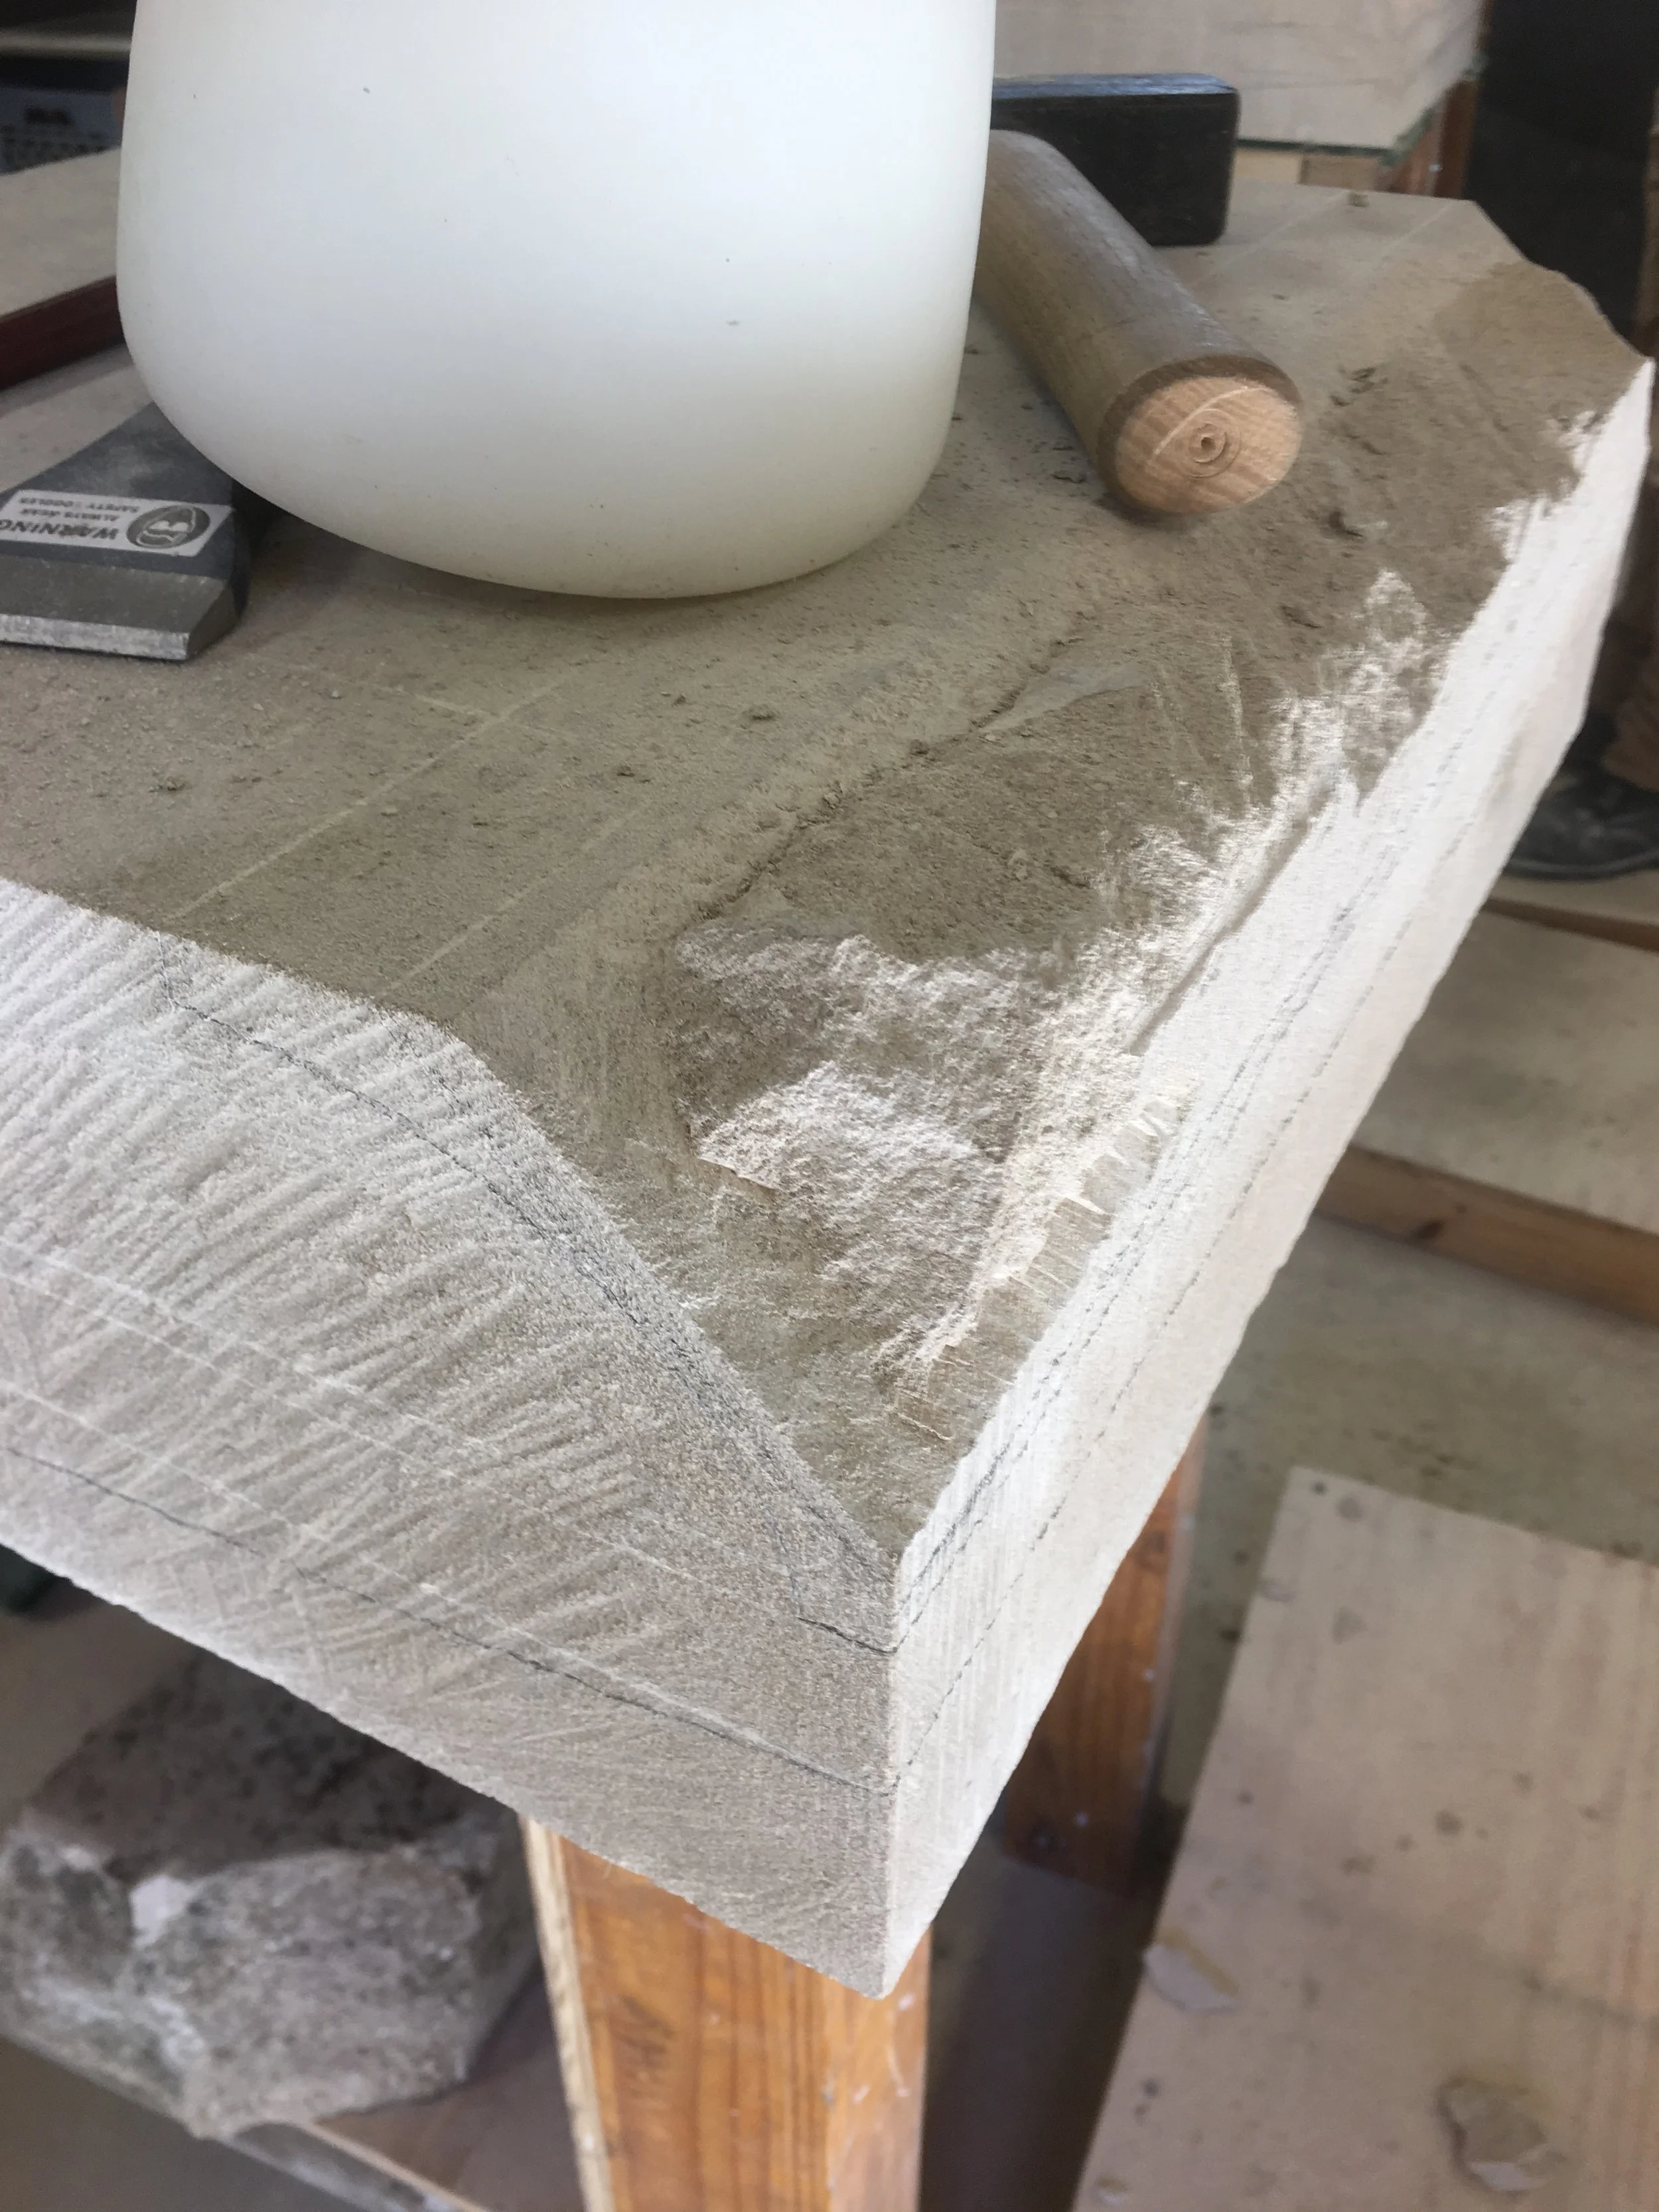
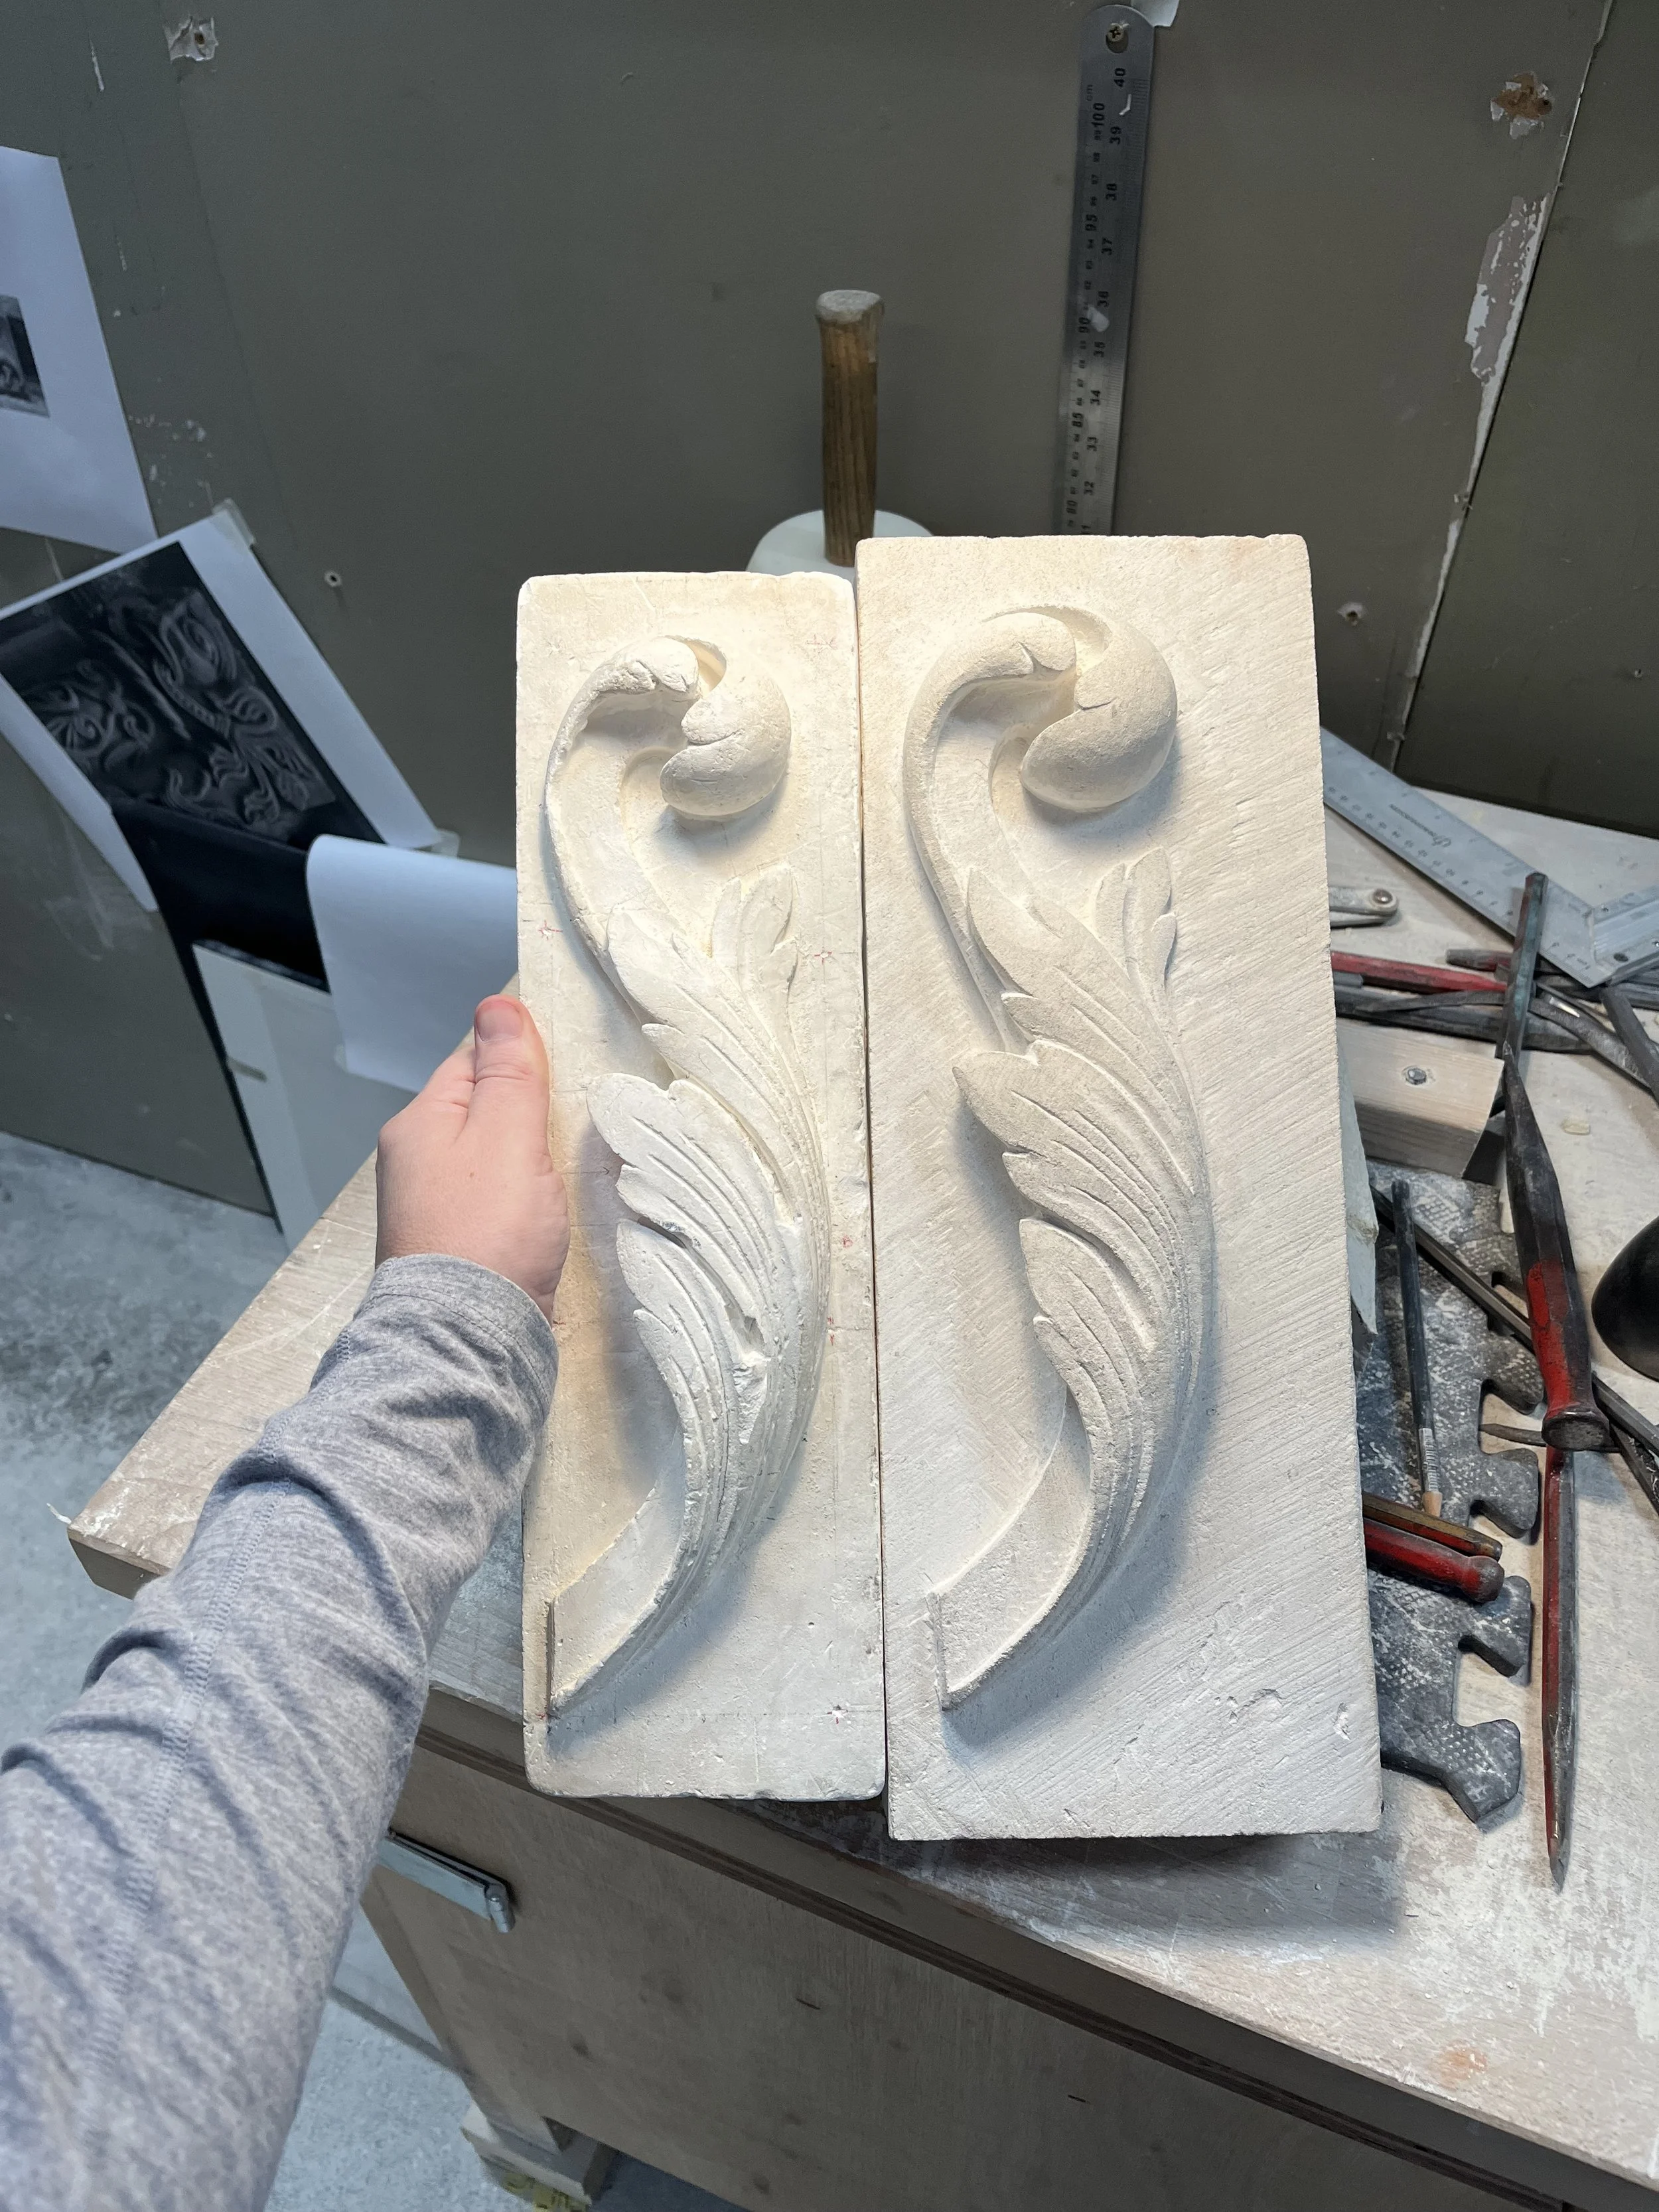
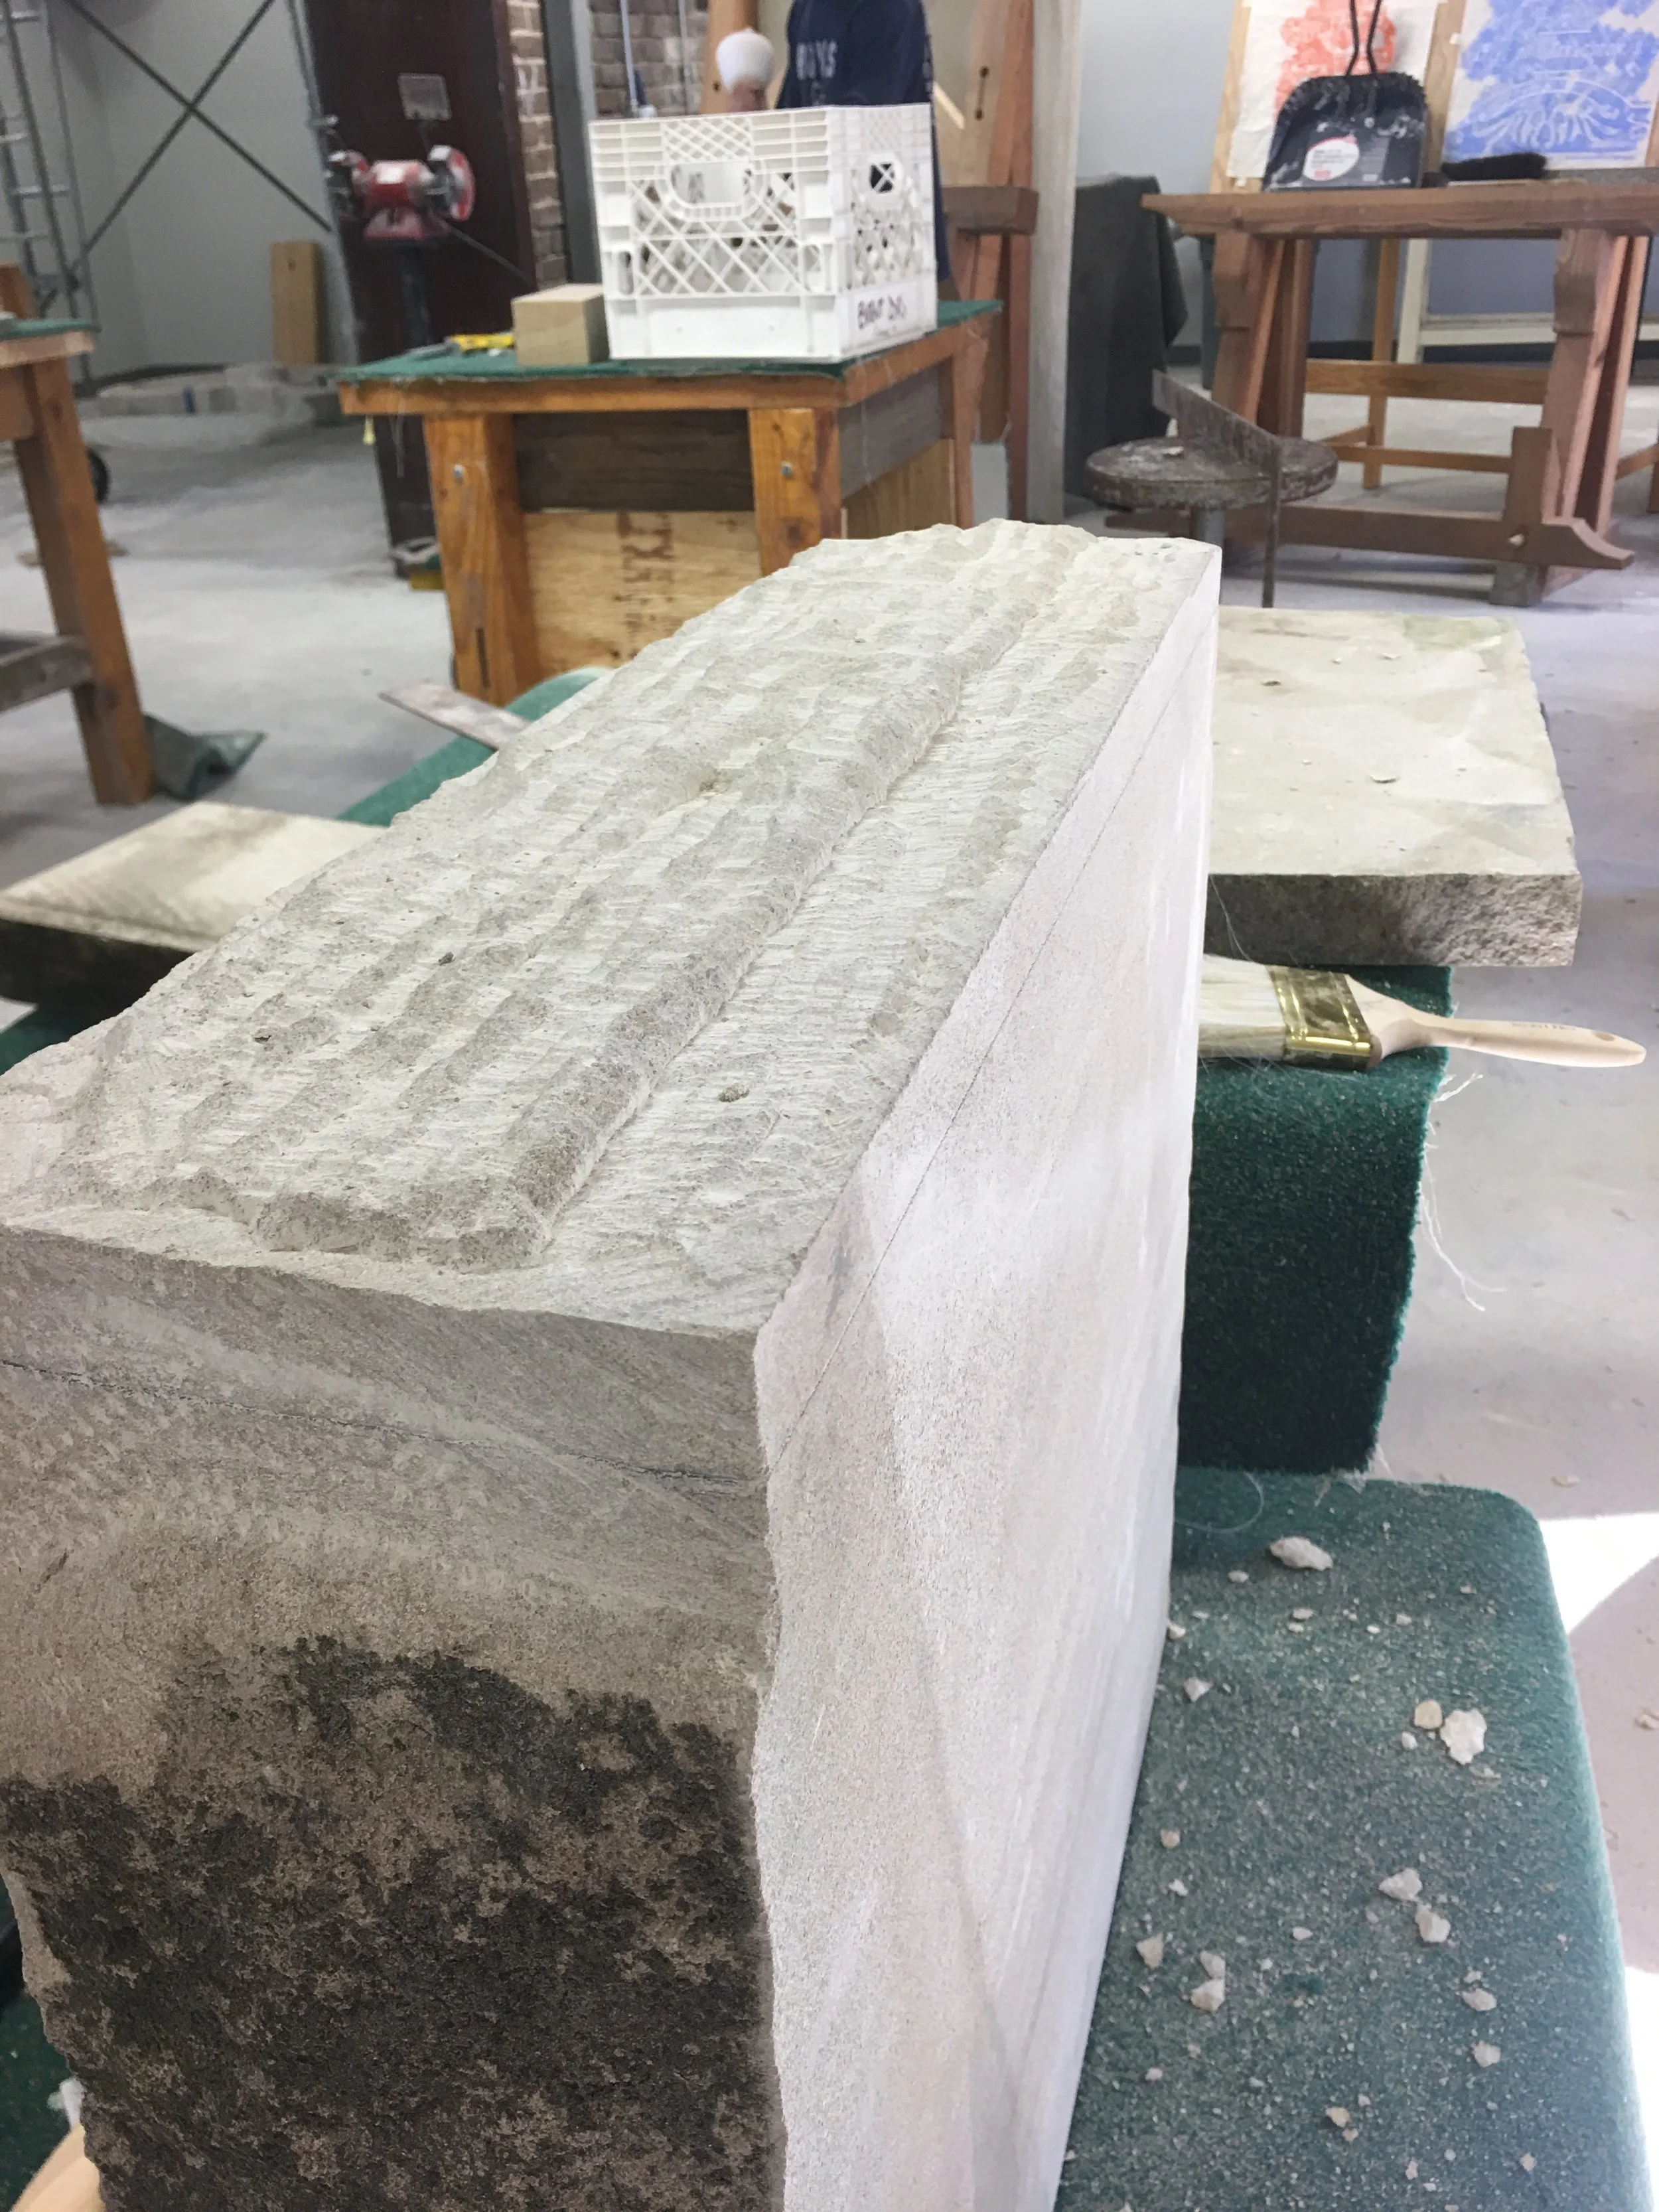
Once the lines are laid out, the stone is worked back. Special care is taken to carve the stone at 45 degree angles to all corners to prevent the limestone from blowing out. the center is then worked down gradually, as trying to remove too much stone at one time is liable to create fractures.
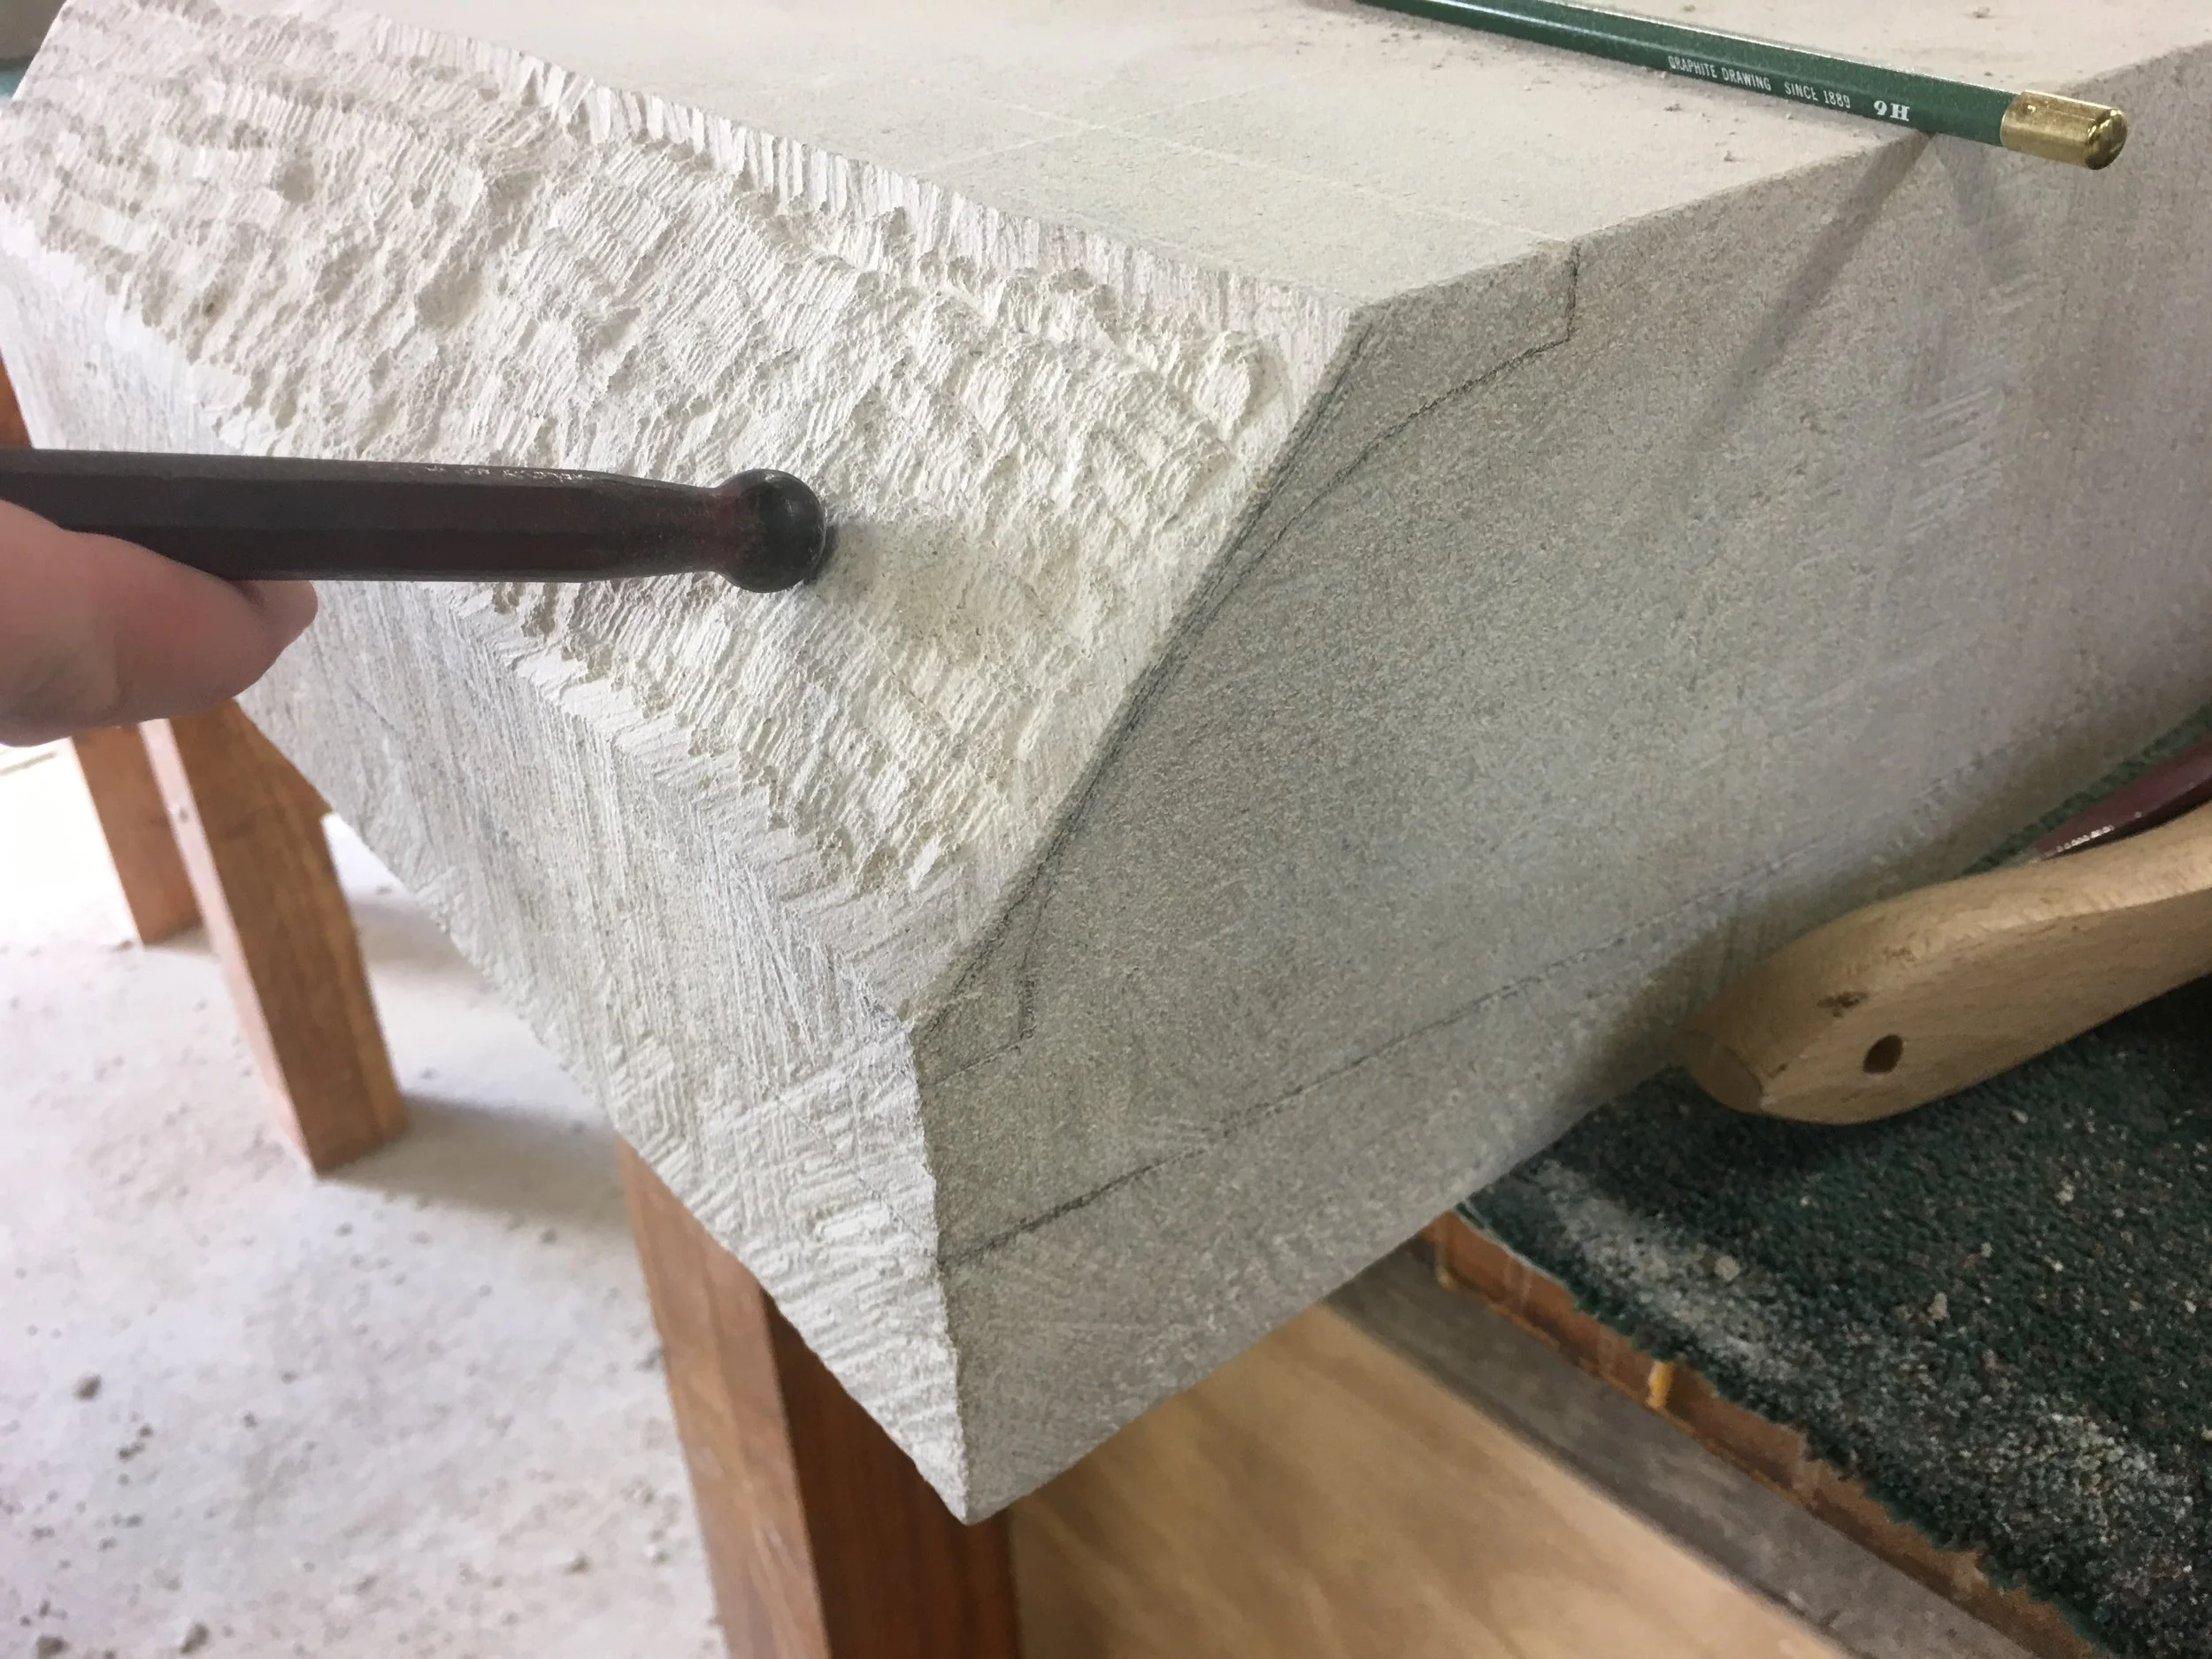
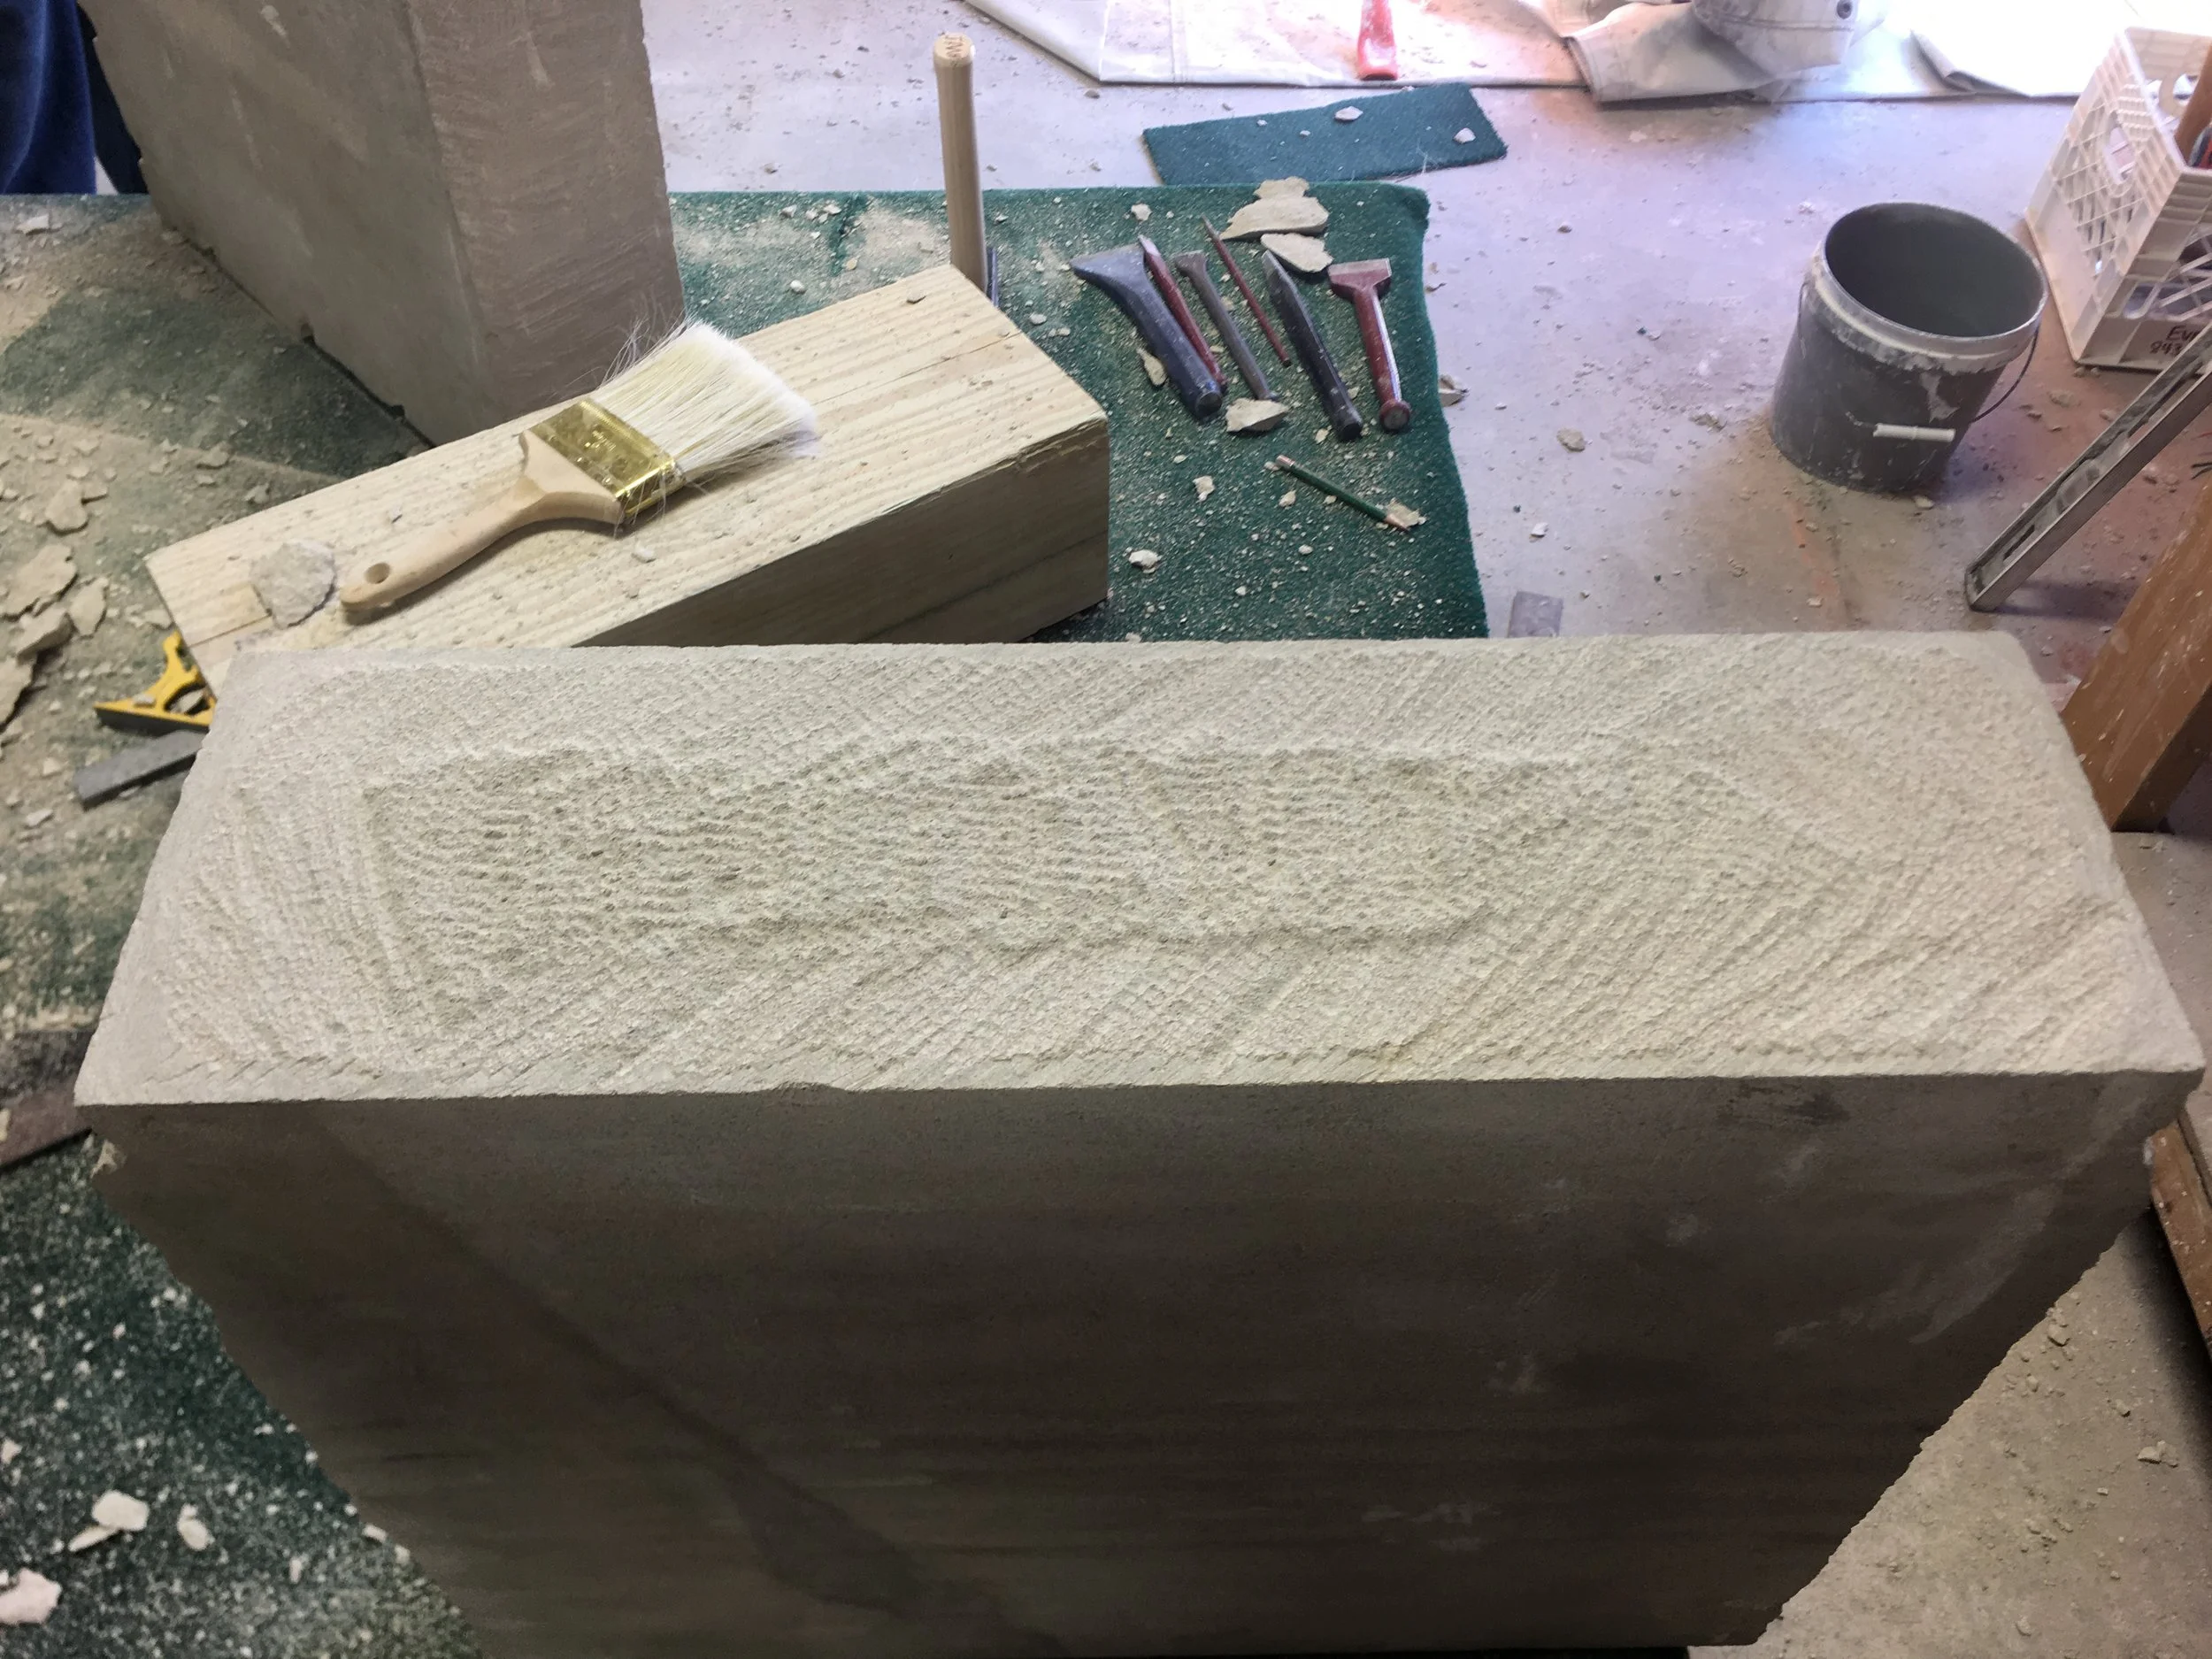
Working down to a new line
The stone has natural formations in it, some parts being hard and tough, and others being soft and easily fragmented. It is important to always be mindful of the bands that run through the stone, and adjust the pressure applied when carving to reflect it.
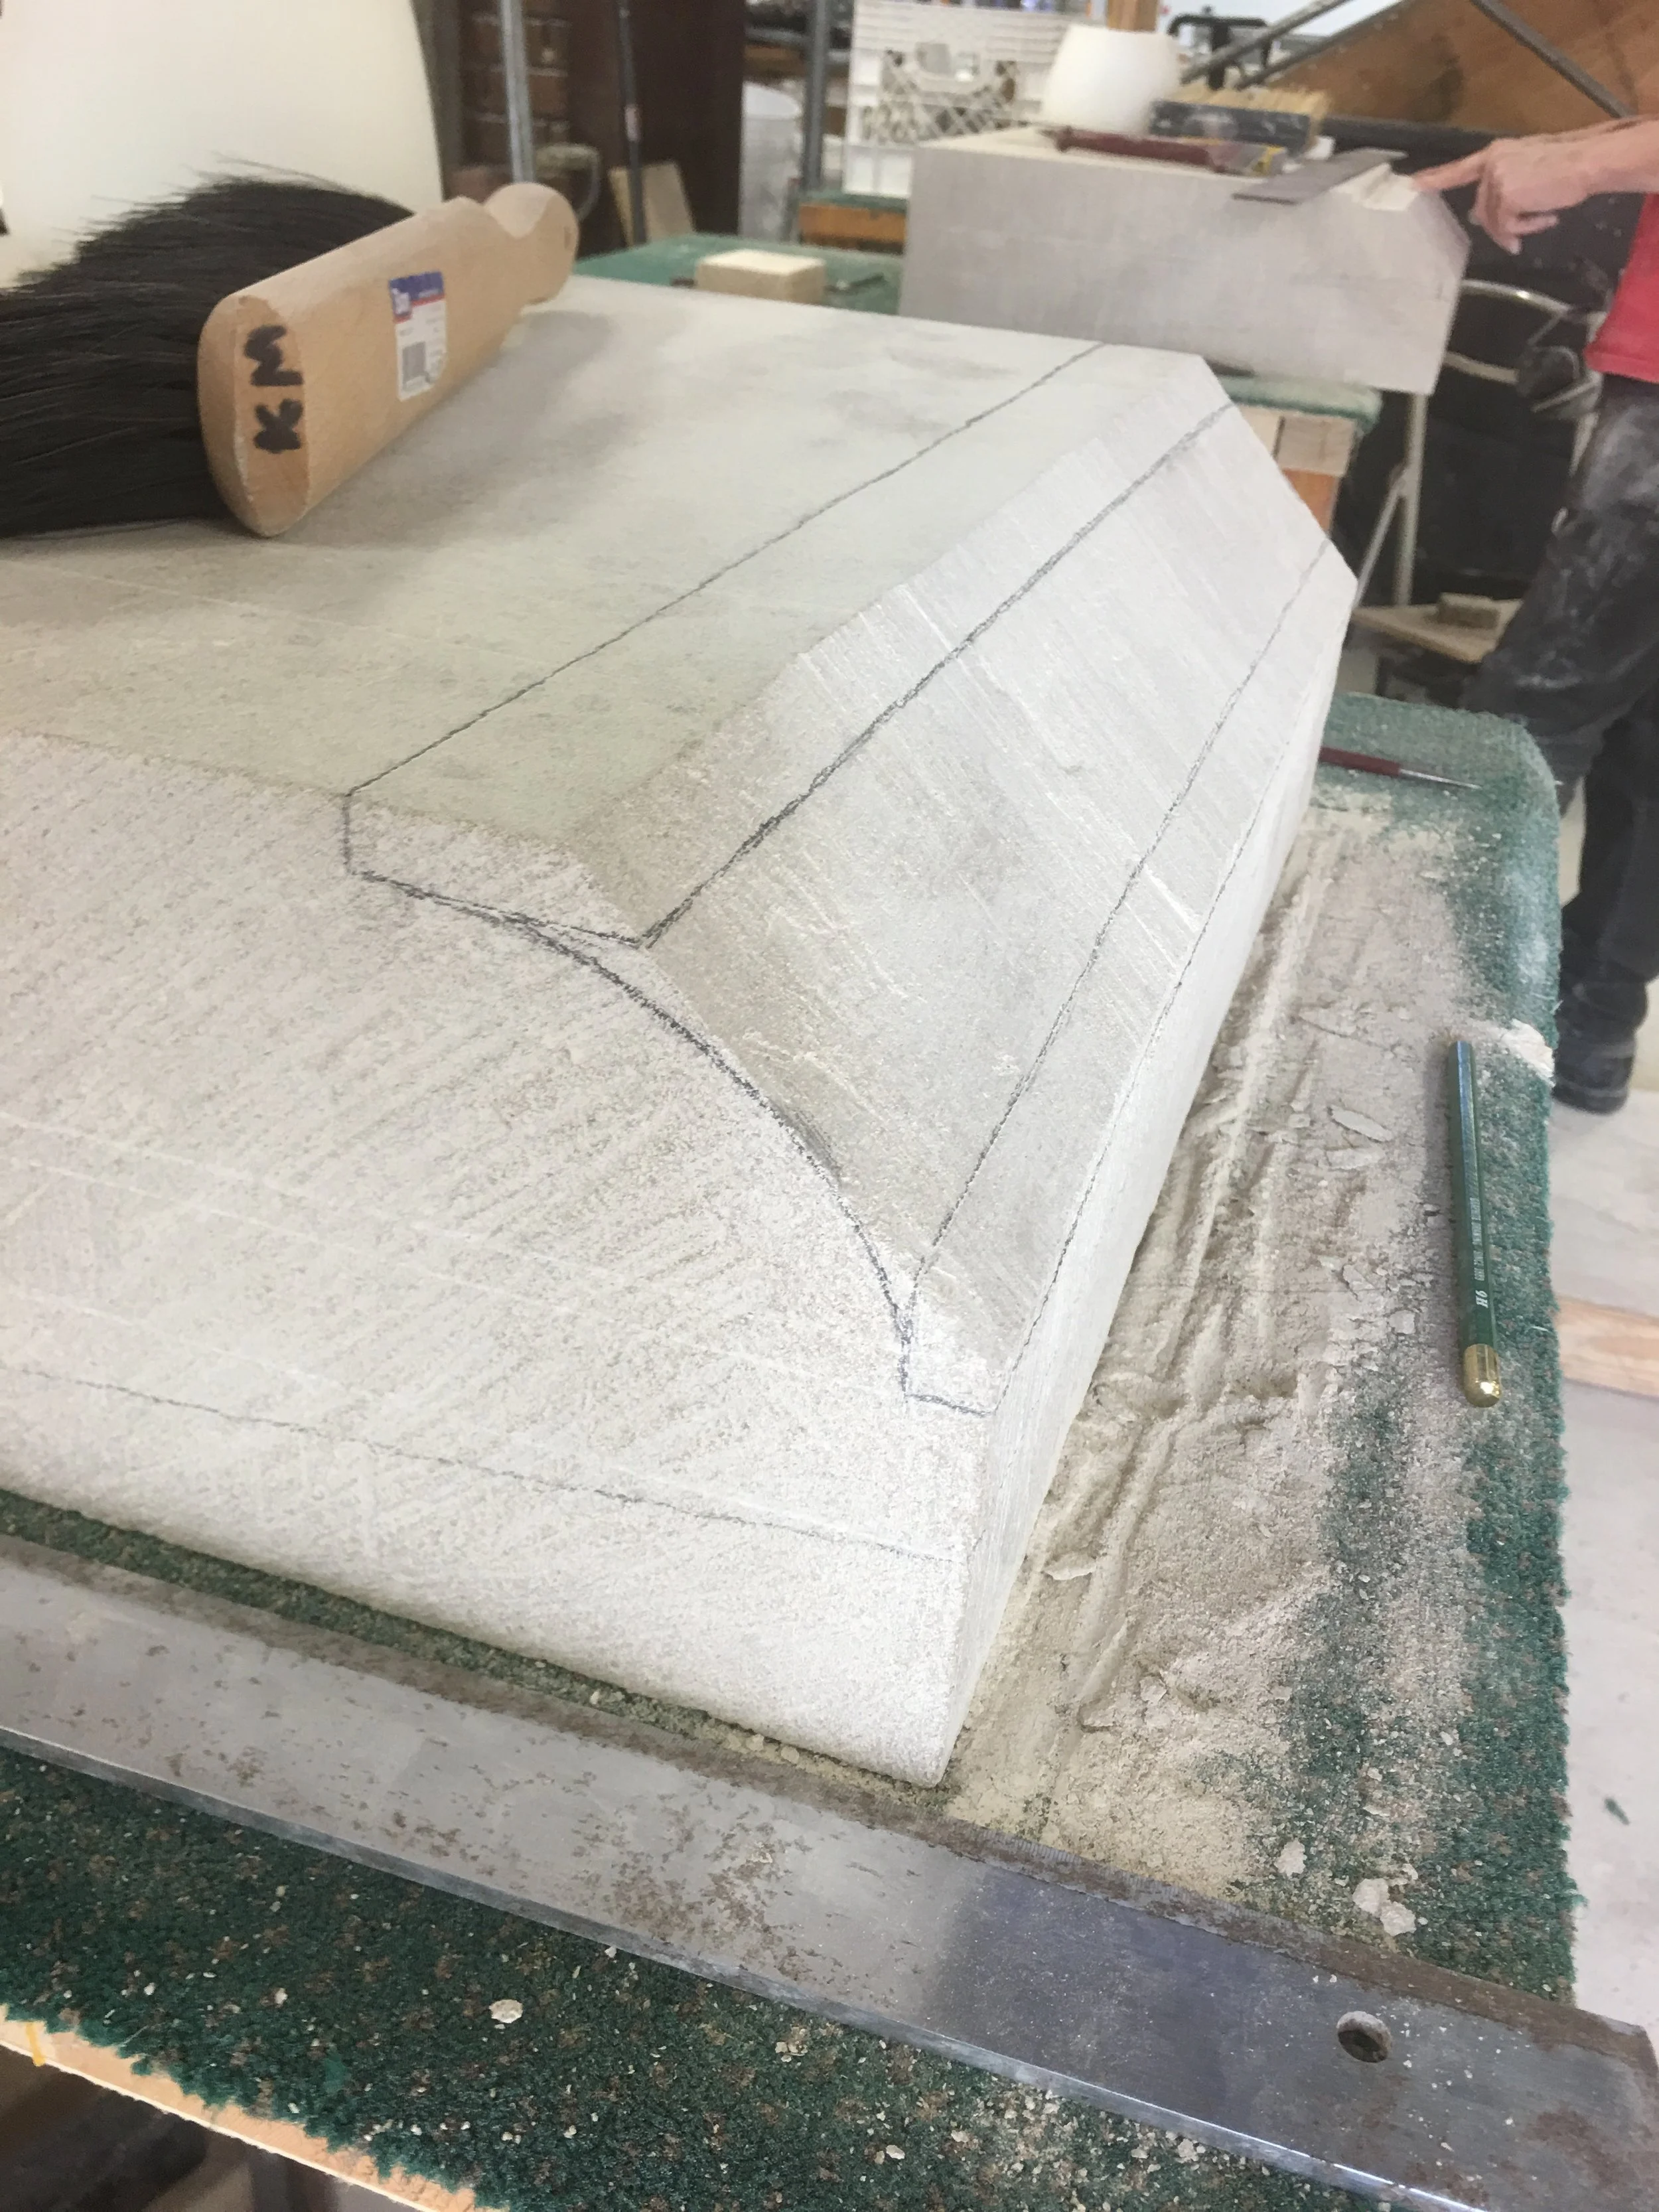
The final shape coming into view
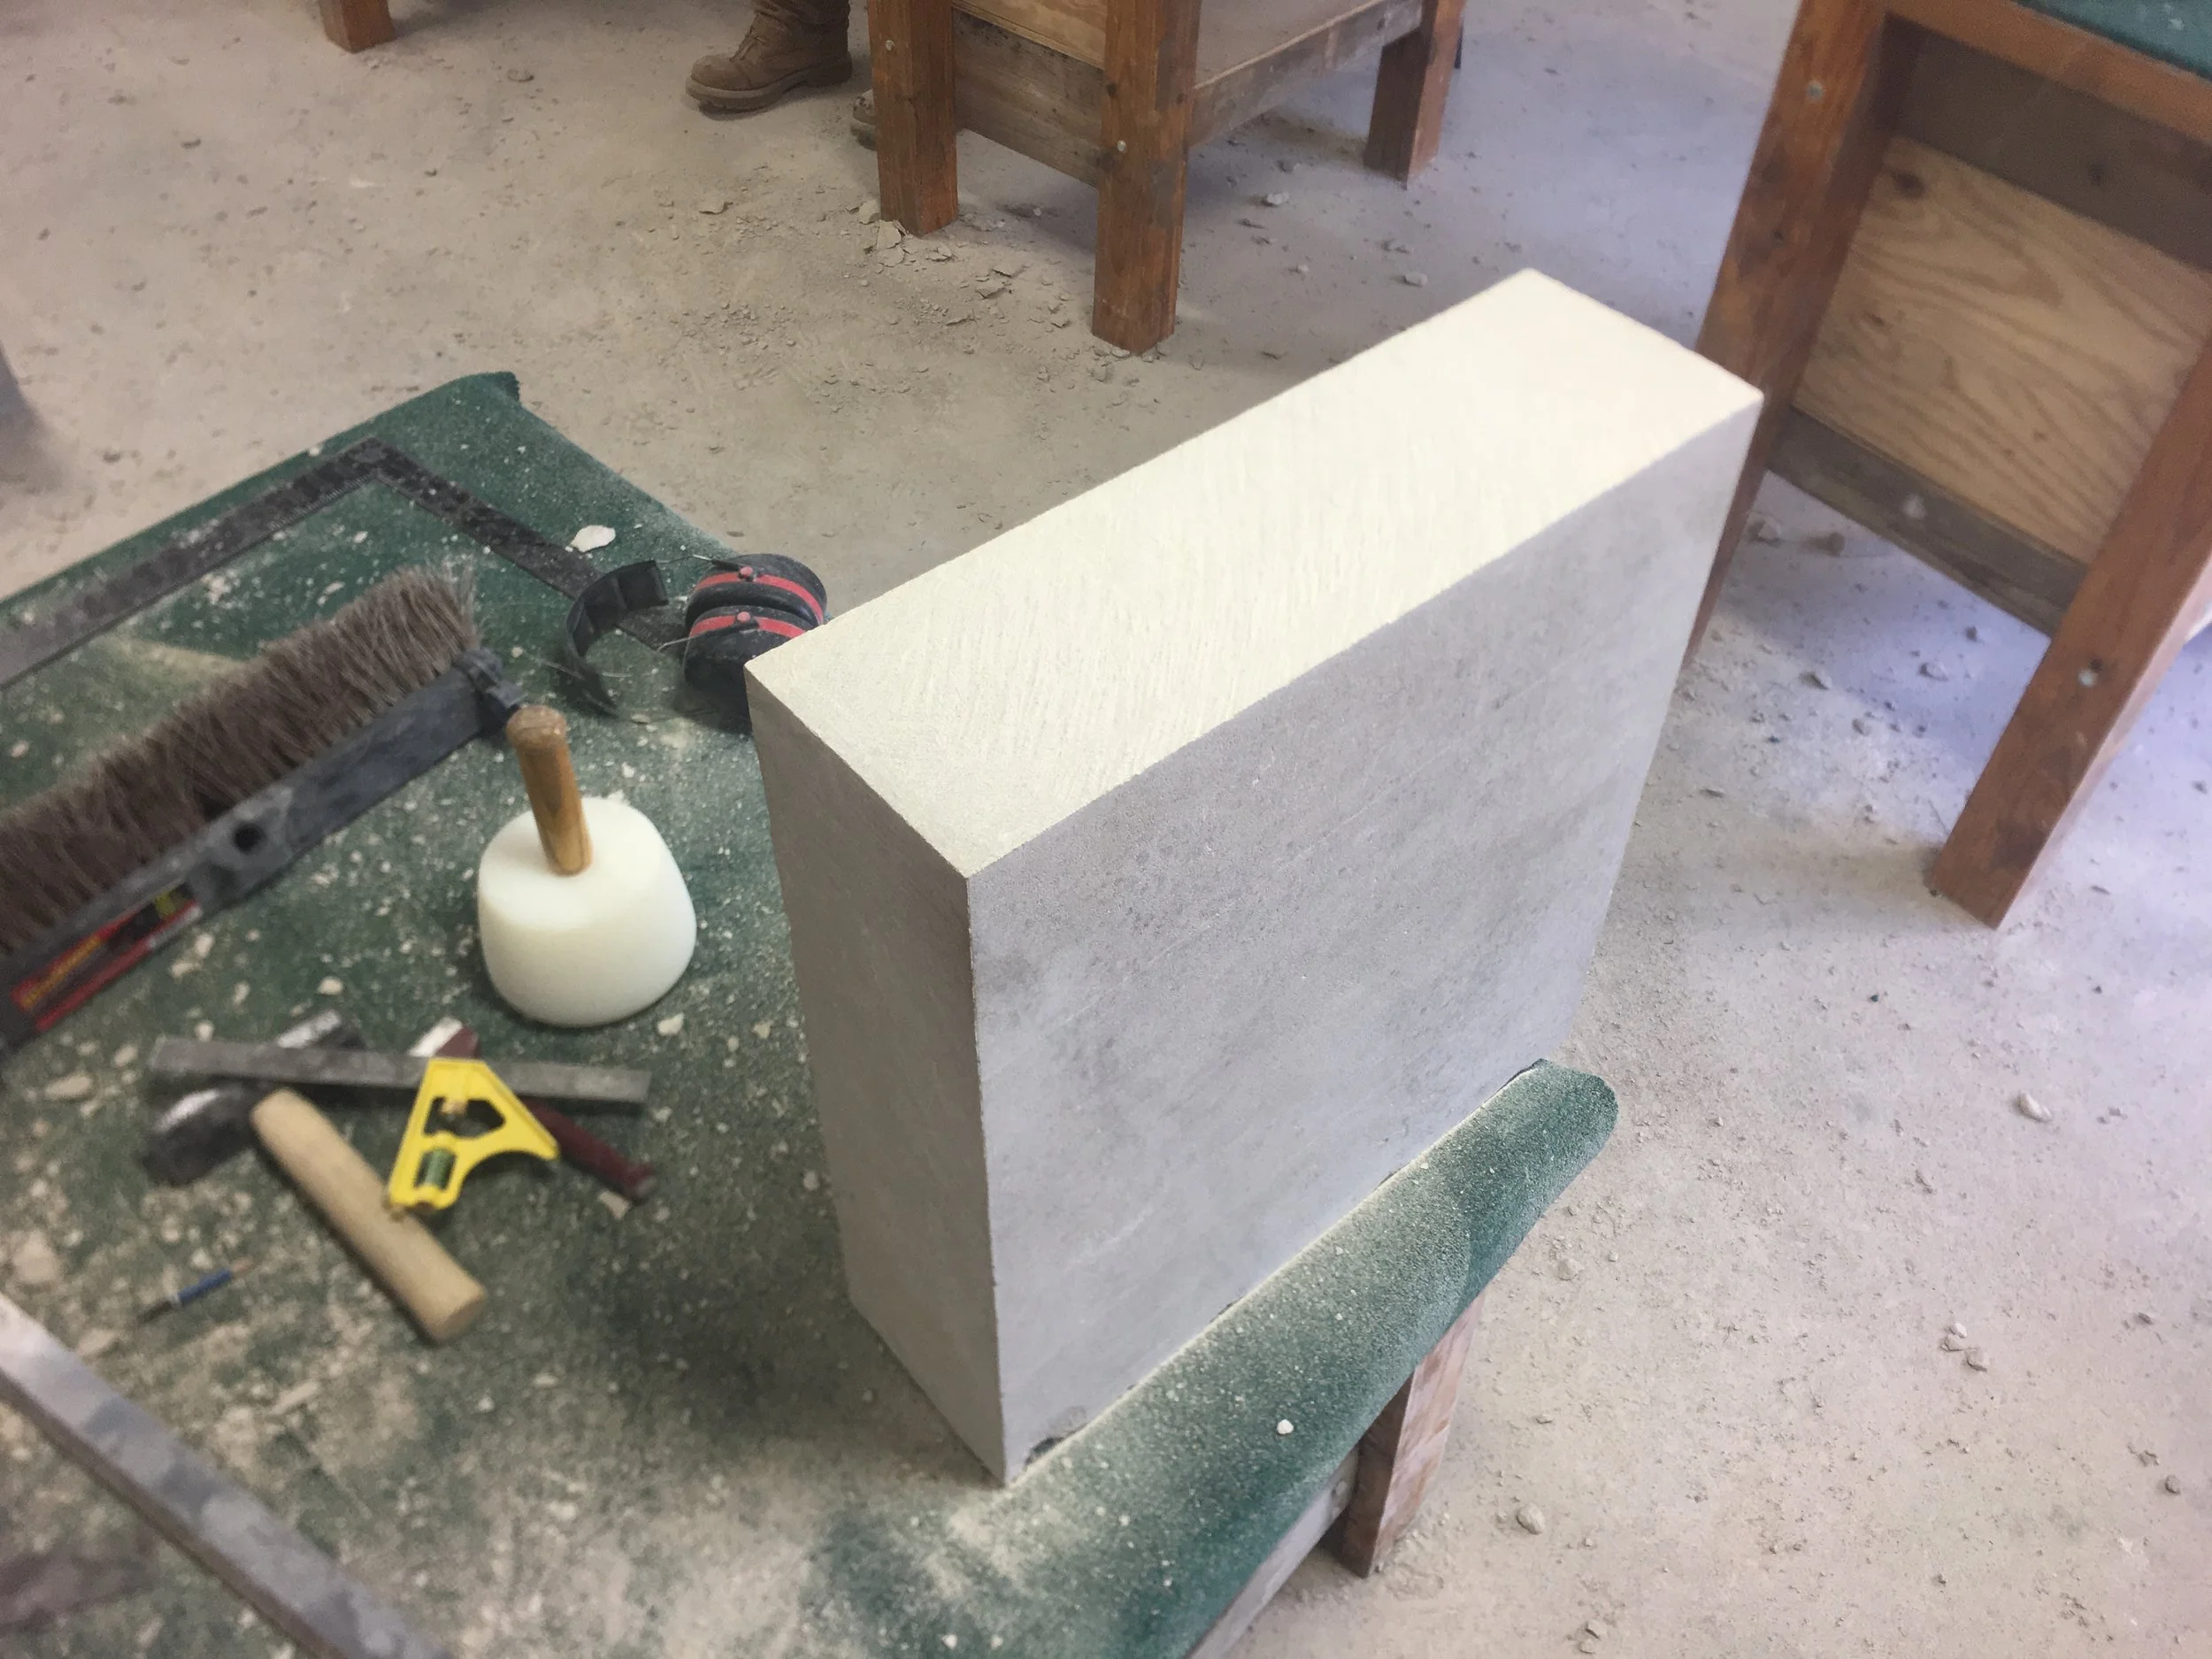
Smoothing the curve.
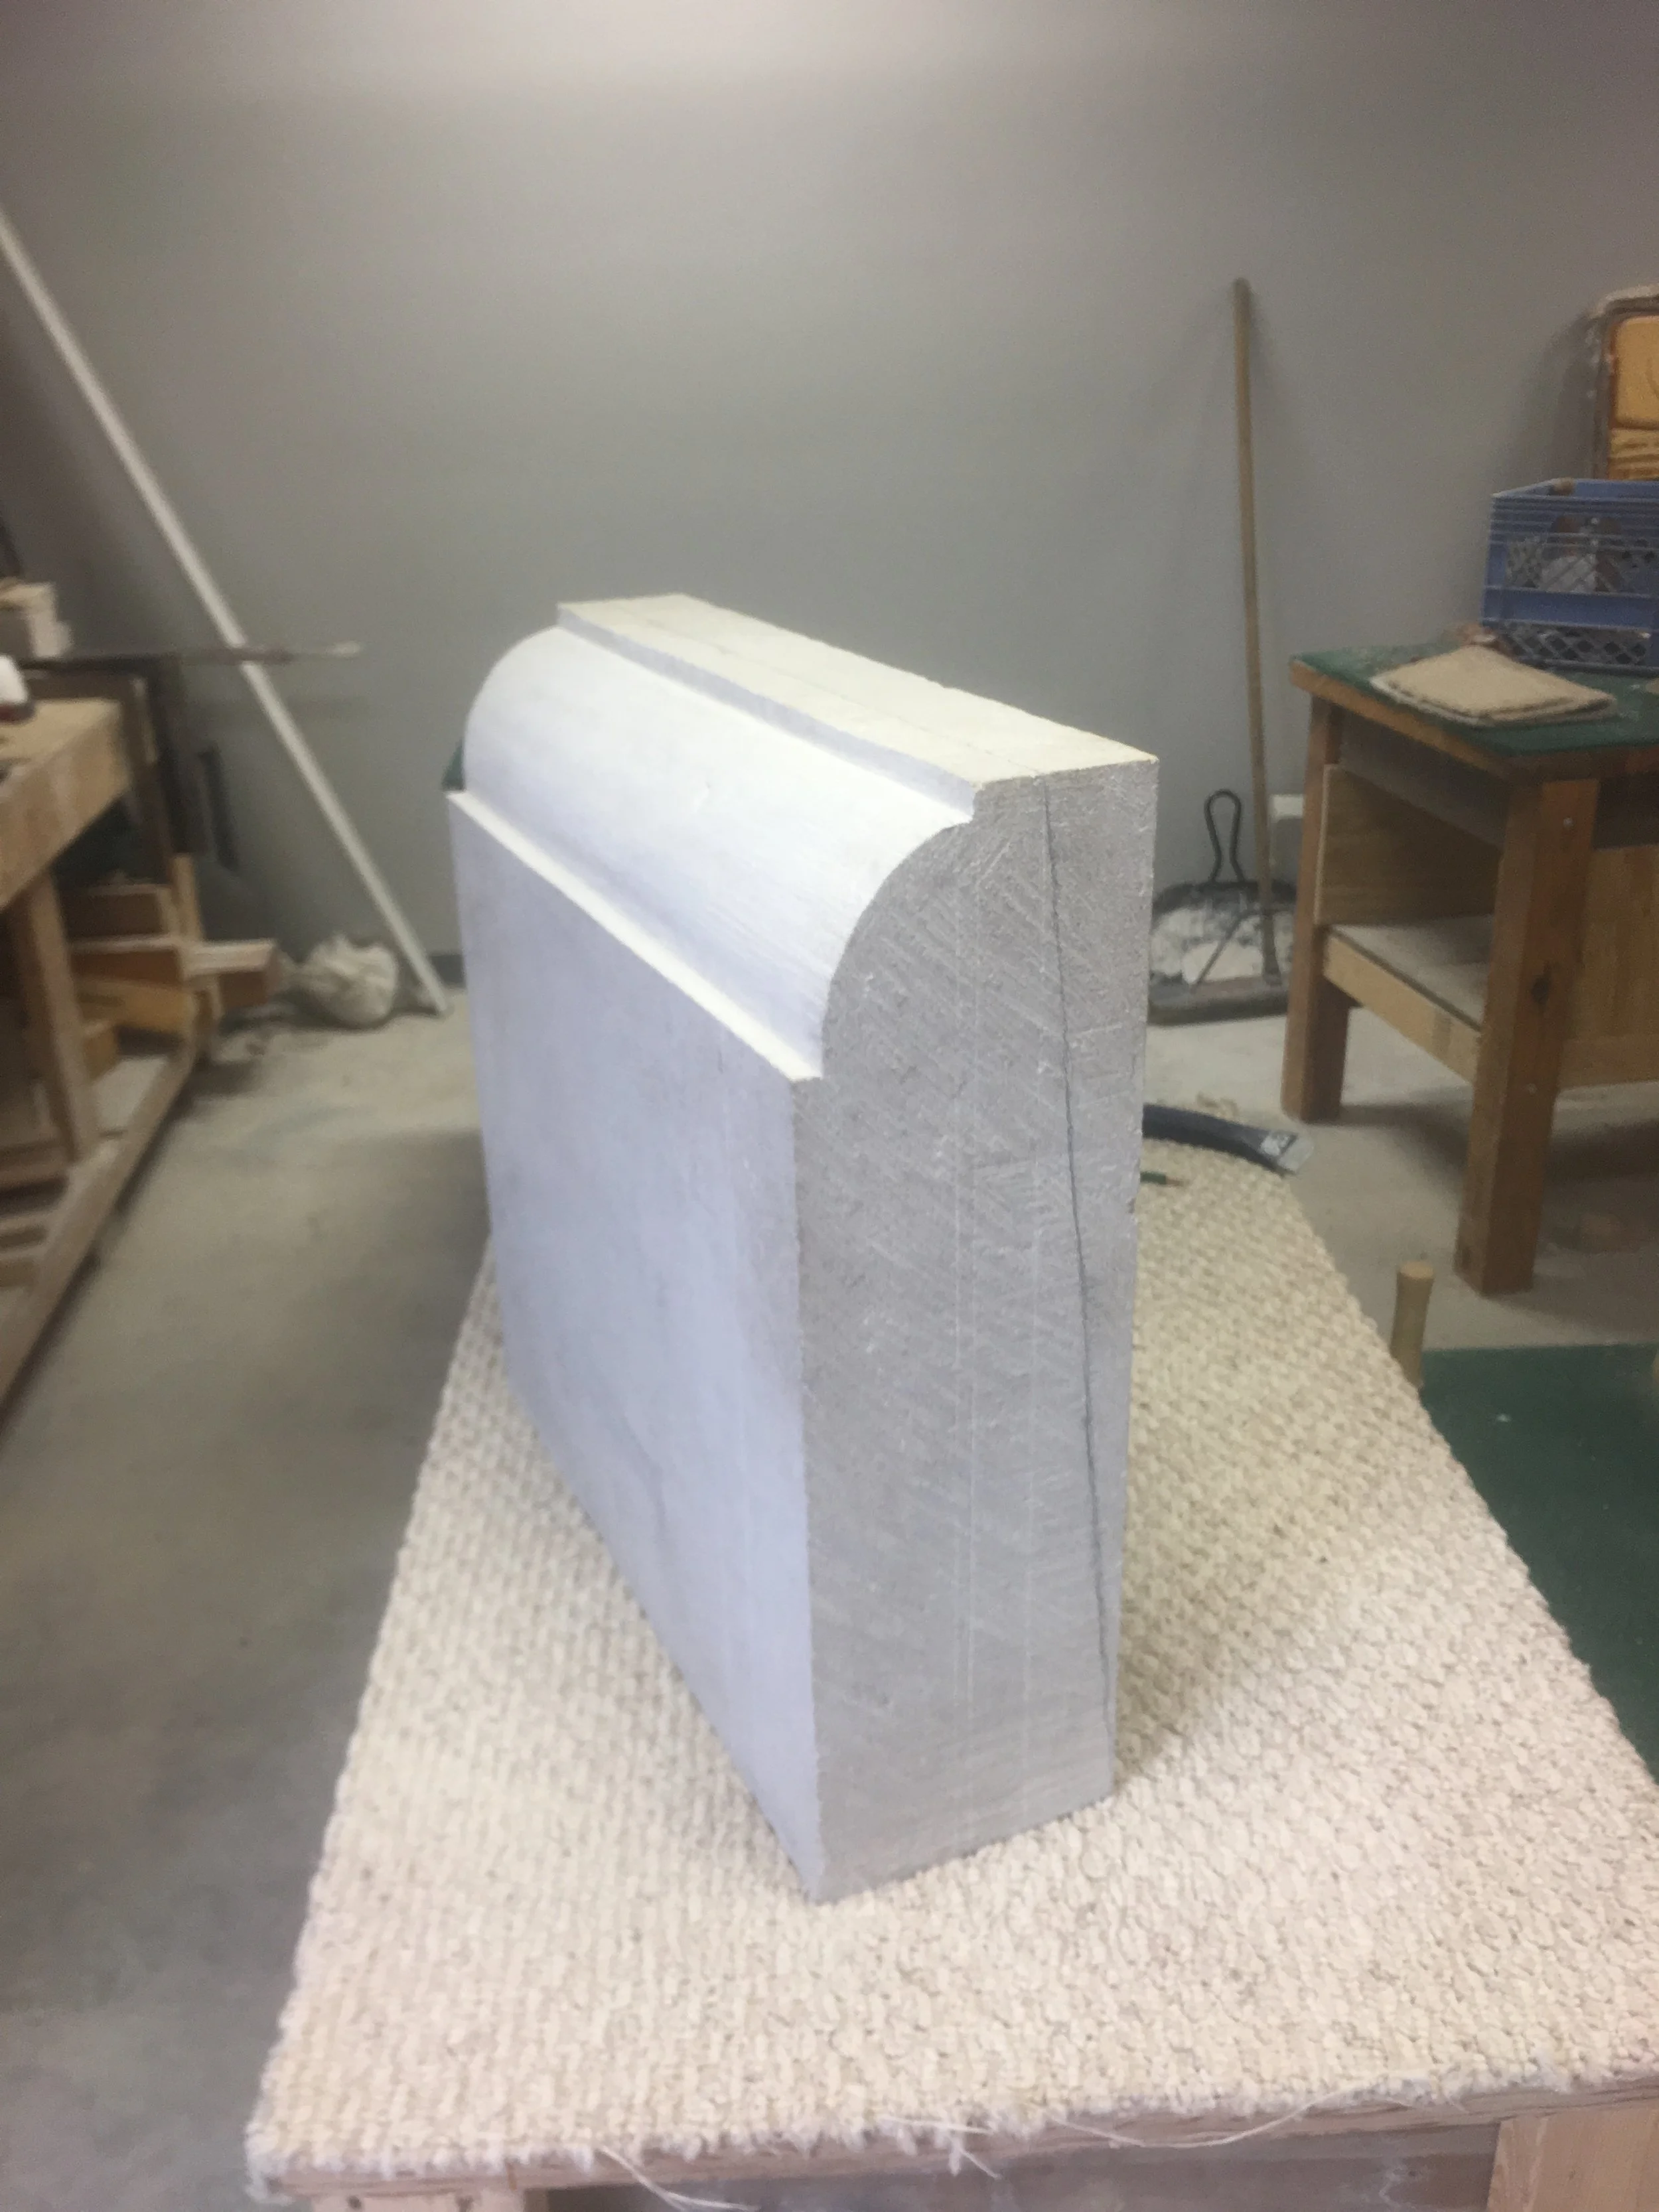
The Final step is the top of the capstone